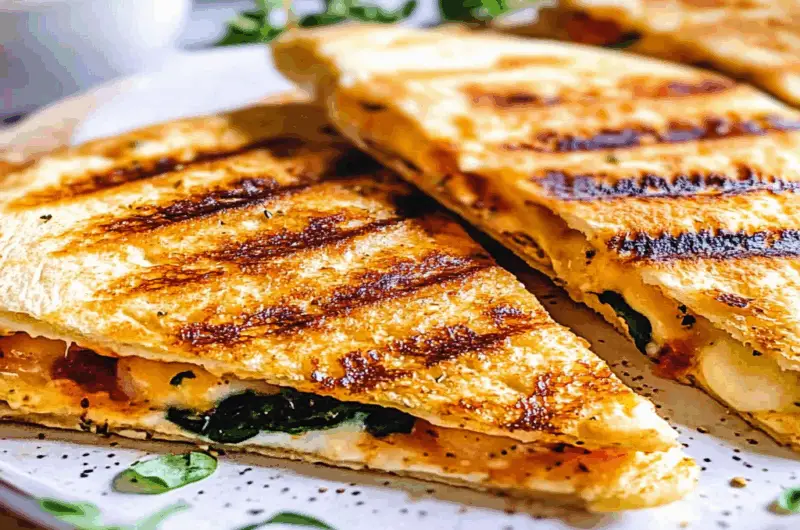
The aroma of melting cheese, warm pita bread, and a hint of garlic wafts through the air, promising a dish that’s both comforting and utterly delightful. Imagine sinking your teeth into a Grilled Cheese Pita, where gooey cheese meets fluffy bread to create a flavor explosion that sings joyously in your mouth. creamy feta pasta.
This dish isn’t just about taste; it’s about nostalgia too. Picture this: rainy afternoons spent in the kitchen with your loved ones, laughter echoing as you assemble this cheesy masterpiece together. The Grilled Cheese Pita is perfect for cozy nights in or casual gatherings with friends, delivering an amazing flavor experience that everyone will adore.
Why You'll Love This Recipe
- This Grilled Cheese Pita offers an easy preparation method that’s perfect even for kitchen novices.
- It bursts with rich flavors and textures that will leave your taste buds dancing.
- The visual appeal is undeniable, making it a standout dish on any table.
- It’s versatile enough to enjoy as a hearty lunch or a fun appetizer at your next get-together.
Ingredients for Grilled Cheese Pita
Here’s what you’ll need to make this delicious dish:
- Pita Bread: Choose soft and fresh pitas to ensure they hold all the cheesy goodness without tearing apart.
- Cheddar Cheese: Opt for sharp cheddar for a robust flavor, or mix it up with mozzarella for extra stretchiness.
- Butter: Use unsalted butter for frying; this prevents the salt from overpowering the cheese’s flavors.
- Garlic Powder: A sprinkle adds depth and enhances the overall flavor profile of your grilled cheese delight.
- Fresh Spinach: Adding spinach not only boosts nutrition but also brings a lovely green color to the dish.
How to Make Grilled Cheese Pita
Follow these simple steps to prepare this delicious dish:
Step 1: Preheat Your Pan
Start by heating a non-stick skillet over medium heat while you prepare your ingredients. A hot pan is crucial for achieving that golden-brown crust.
Step 2: Prepare Your Pitas
Carefully cut each pita in half to create pockets. This step allows you to stuff them generously with cheese and other fillings without risking any spills.
Step 3: Load It Up
Fill each pita pocket with shredded cheddar cheese, fresh spinach, and a sprinkle of garlic powder. Don’t be shy; it’s all about that cheesy goodness!
Step 4: Butter Up
Spread some unsalted butter on the outside of each filled pita half. This helps achieve that crispy exterior we all love while keeping everything inside nice and melty.
Step 5: Grill to Perfection
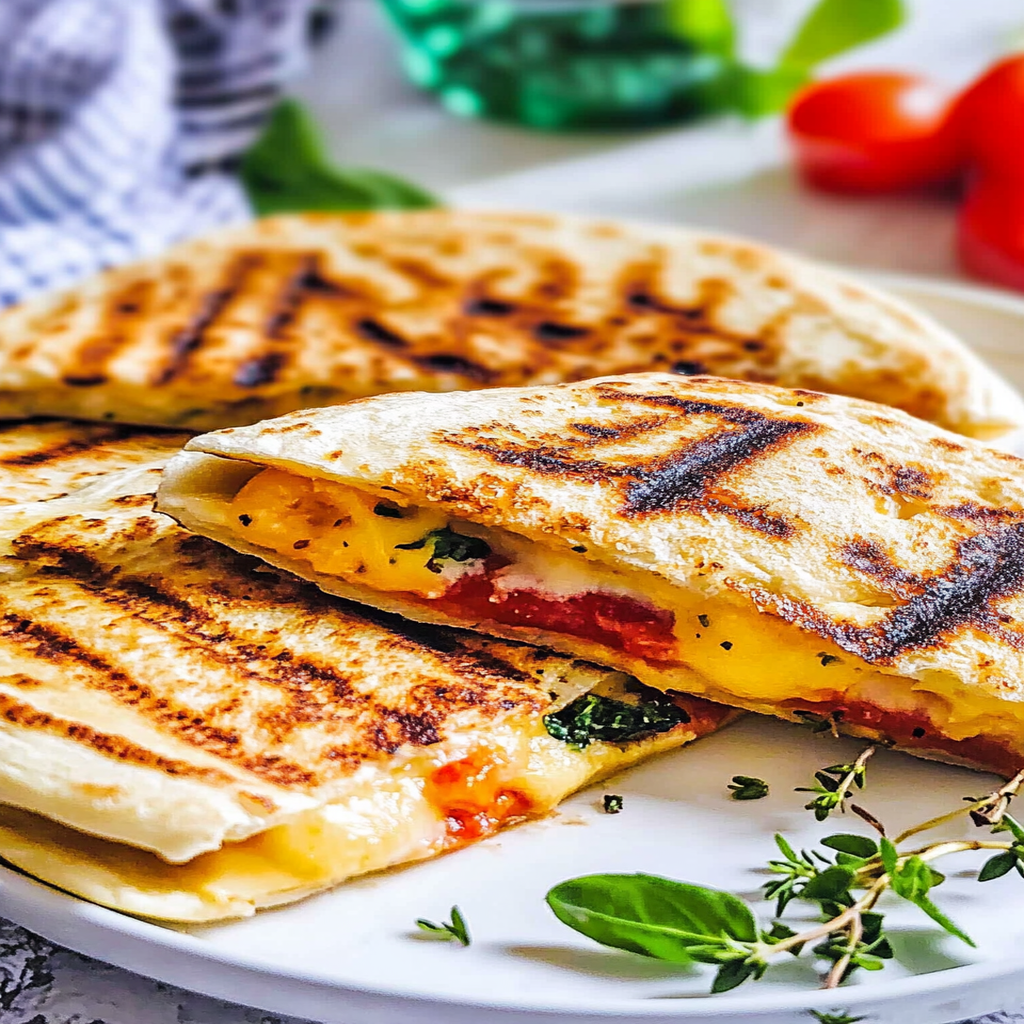
Place the pitas in the preheated skillet. Grill for about 3-4 minutes on each side or until they turn beautifully golden brown and the cheese has melted gloriously inside.
Step 6: Serve It Hot
Once done, transfer your grilled cheese pitas onto plates and slice them in half if desired. strawberry choux au craquelin Pair with your favorite dipping sauce or enjoy them solo – they’re simply irresistible!
Now gather around your table and watch as everyone dives into these delightful Grilled Cheese Pitas! They’re not just food; they’re memories waiting to happen!
You Must Know
- This grilled cheese pita takes comfort food to a new level.
- It’s not just about cheese and bread; it’s a delightful twist that brings joy to every bite.
- Easy to make and perfect for any time of day, your taste buds will thank you!
Perfecting the Cooking Process
Start by heating your skillet over medium heat while preparing the pita. Spread butter on the outside, fill it with cheese, and then sear one side until golden brown. Flip it over and let the other side sizzle until that cheesy goodness melts.
Add Your Touch
Feel free to swap out cheeses for a unique flavor profile. Add veggies like spinach or tomatoes, or even sprinkle in some herbs like basil for an extra kick. The possibilities are endless!
Storing & Reheating
Store any leftover grilled cheese pita in an airtight container in the fridge. To reheat, simply warm it in a skillet over low heat until the cheese is gooey again – no microwave sad moments here!
Chef's Helpful Tips
- For a crispier pita, try using a little olive oil instead of butter.
- This can add a nice flavor twist too!
- Always grate your cheese fresh for better meltability.
- If using multiple cheeses, balance stronger flavors with milder ones.
Sometimes I whip up this grilled cheese pita when I need a quick meal, and my friends always ask for seconds! Nothing brings people together like melted cheese in a warm pocket of goodness.
FAQs:
What is a Grilled Cheese Pita?
A Grilled Cheese Pita is a delicious twist on the classic grilled cheese sandwich. Instead of traditional bread, this recipe uses pita bread, which adds a unique texture and flavor. The pita is filled with your choice of cheese—commonly mozzarella, cheddar, or a mix—and grilled until crispy and golden. crispy vegan taquitos This dish is easy to prepare and perfect for a quick lunch or snack. You can customize the filling by adding vegetables or proteins to make it even more satisfying.
How do I make the perfect Grilled Cheese Pita?
To make the perfect Grilled Cheese Pita, start by preheating your grill or skillet over medium heat. Cut the pita in half and fill it with your favorite cheese. For added flavor, consider including ingredients like spinach or tomatoes. Brush the outside of the pita with butter or olive oil to achieve a golden crust. Grill each side for about 3-4 minutes or until the cheese melts and the pita becomes crispy. Serve immediately for the best taste.
Can I use different types of cheese in my Grilled Cheese Pita?
Absolutely! One of the great things about Grilled Cheese Pita is its versatility. You can experiment with various cheeses to suit your taste preferences. Cheddar and mozzarella are popular choices, but you could also try gouda, provolone, or even vegan cheese alternatives if you’re looking for plant-based options. Mixing different cheeses can create a more complex flavor profile that enhances your grilled cheese experience.
What are some variations of Grilled Cheese Pita?
There are countless variations of Grilled Cheese Pita to explore! Consider adding sliced avocados, sautéed mushrooms, or roasted peppers for added nutrition and flavor. For a spicy kick, incorporate jalapeños or hot sauce into your filling. You can also enjoy sweet variations by adding fruits like apple slices paired with sharp cheddar. The possibilities are endless when customizing your Grilled Cheese Pita!
Conclusion for Grilled Cheese Pita:
In summary, the Grilled Cheese Pita offers an exciting twist on a beloved classic. By using pita bread instead of regular bread, you create a unique texture that complements melted cheese perfectly. This recipe is not only easy to make but also allows for endless customization with various fillings and toppings. overnight breakfast casserole Whether you prefer traditional flavors or bold new combinations, this dish will satisfy any cheesy craving and make for a delightful meal anytime!
Grilled Cheese Pita
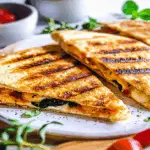
Grilled Cheese Pita is a delightful twist on comfort food, marrying fluffy pita bread with ooey-gooey melted cheese for an unforgettable flavor experience. This easy-to-make dish is perfect for cozy nights or casual gatherings and evokes nostalgia with every bite. Customize your pitas with fresh veggies or different cheeses to create a unique delight that will impress everyone at your table.
- Prep Time: 10 minutes
- Cook Time: 8 minutes
- Total Time: 18 minutes
- Yield: 2 servings 1x
- Category: Snack
- Method: Grilling
- Cuisine: Middle Eastern
Ingredients
- 2 soft pita breads
- 1 cup sharp cheddar cheese, shredded
- 2 tablespoons unsalted butter
- 1 teaspoon garlic powder
- 1 cup fresh spinach, chopped
Instructions
- Preheat a non-stick skillet over medium heat.
- Cut each pita in half to create pockets.
- Fill each pocket with cheddar cheese, spinach, and garlic powder.
- Butter the outside of each filled pita half.
- Grill pitas in the skillet for 3-4 minutes per side until golden brown and cheese is melted.
- Serve hot, sliced if desired.
Nutrition
- Serving Size: 1 Grilled Cheese Pita (150g)
- Calories: 300
- Sugar: 2g
- Sodium: 400mg
- Fat: 18g
- Saturated Fat: 9g
- Unsaturated Fat: 7g
- Trans Fat: 0g
- Carbohydrates: 28g
- Fiber: 3g
- Protein: 10g
- Cholesterol: 30mg