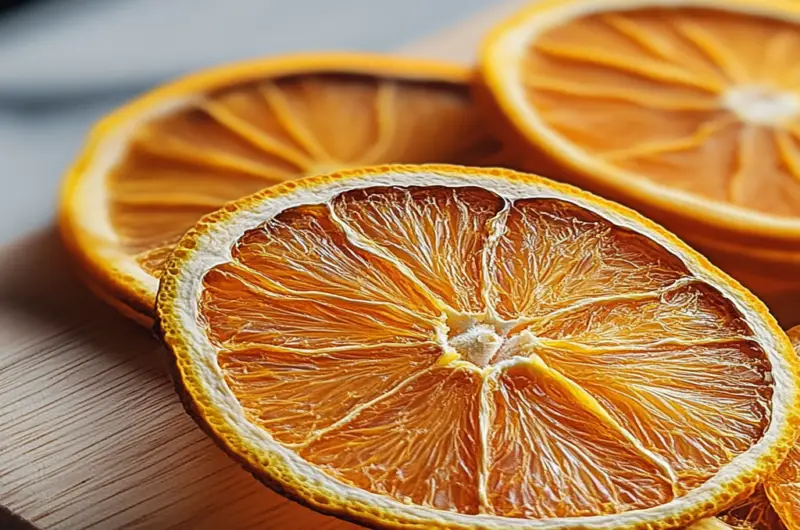
How to Make Perfect Dried Orange Slices is a delightful journey into transforming your kitchen into a fragrant citrus wonderland. Imagine the sweet, tangy aroma wafting through your house as orange slices become beautiful, sun-kissed snacks. perfect pairing for dried orange slices You’ll not only be left with a tasty treat but also an excellent way to brighten up your home decor.
Whether you want to add a zingy touch to your holiday drinks or create stunning garnishes for your treats, these dried orange slices are the perfect answer. add a touch of elegance Let’s dive in and discover how to make this simple yet impressive recipe that will make everyone go, “Wow, you made those yourself?”
Why You'll Love This Recipe
- The process is incredibly easy, making it fun for all skill levels in the kitchen.
- Their vibrant color and charming aroma will be the highlight of any gathering.
- Use them for decorating cocktails or as a tasty snack that complements both savory and sweet dishes.
- Transforming fresh oranges into these delightful slices is a creative activity you’ll enjoy again and again.
Ingredients for How to Make Perfect Dried Orange Slices
Here’s what you’ll need to make this delicious dish:
- Fresh Oranges: Choose firm oranges with vibrant skin for the best flavor and color during drying.
- Sharp Knife: A good knife ensures even slicing, which helps achieve uniform drying.
- Baking Sheet: A standard baking sheet lined with parchment paper prevents sticking and makes cleanup a breeze.
- Oven or Dehydrator: Both appliances work well; choose what you have available for drying.
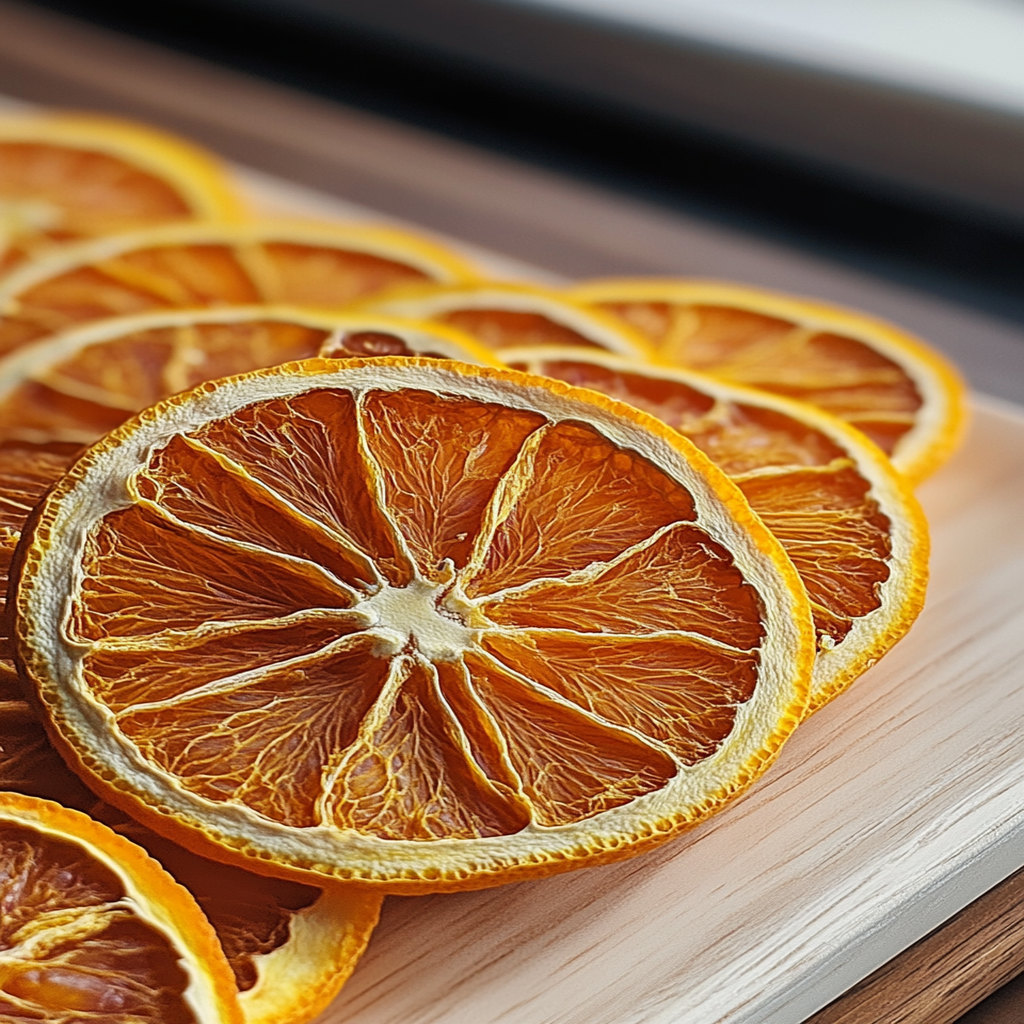
How to Make How to Make Perfect Dried Orange Slices
Follow these simple steps to prepare this delicious dish:
Step 1: Prepare Your Oranges
Start by washing your fresh oranges thoroughly under running water to remove any wax or dirt. Pat them dry with a clean towel.
Step 2: Slice the Oranges
Using your sharp knife, slice the oranges into thin rounds about one-quarter inch thick. Remember, thin slices allow for better drying and more beautiful results.
Step 3: Arrange on Baking Sheet
Line your baking sheet with parchment paper. Lay the orange slices flat on the sheet without overlapping them. This ensures they dry evenly without getting stuck together.
Step 4: Drying Time
Preheat your oven to 175°F (80°C). Place the baking sheet in the oven and let those beauties dry for about 4-6 hours. Flip them halfway through to ensure they dry evenly.
Step 5: Cool and Store
Once they reach a crispy texture, remove them from the oven and let them cool completely on a wire rack. Store them in an airtight container away from moisture.
Step 6: Serve and Enjoy
Use these perfect dried orange slices as garnishes for cocktails or simply enjoy them as a healthy snack bursting with flavor!
You’re now ready to impress friends and family with your homemade dried orange slices! With their sunny disposition and versatility, they’re bound to become a favorite in your household.
You Must Know
- Dried orange slices are not just a treat for the taste buds; they also add a pop of color to any dish.
- They are perfect for snacking, garnishing cocktails, or even decorating your home.
- Plus, they’re incredibly easy to make!
Perfecting the Cooking Process
To make perfect dried orange slices, start by preheating your oven to 175°F (80°C). Slice the oranges evenly to ensure they dry uniformly. Arrange them on a baking sheet lined with parchment paper. Bake for about 4-6 hours until crisp.
Add Your Touch
Feel free to experiment with spices! For a festive twist, sprinkle cinnamon or nutmeg on the orange slices before drying. You can also mix in other fruits like lemons or limes for a colorful medley.
Storing & Reheating
Once cooled, store your dried orange slices in an airtight container in a cool, dark place. They should last for up to six months. No need to reheat; enjoy them as is!
Chef's Helpful Tips
- Use a sharp knife or mandoline for even slicing; this ensures consistent drying.
- Keep an eye on them during the last hour—burnt orange slices are no fun!
- Experiment with drying times based on your preferred crispness for ultimate satisfaction.
I remember the first time I made these dried orange slices; my friends were convinced I had become a fancy chef overnight! They couldn’t believe how simple yet impressive they looked on my holiday cheese board.
FAQs :
What are the best oranges for drying?
When learning how to make perfect dried orange slices, choosing the right type of orange is crucial. Navel oranges and blood oranges are popular choices due to their sweetness and vibrant color. These varieties have thicker peels, which help retain moisture during the drying process. Look for fresh, firm oranges that are free from blemishes to ensure the best flavor in your dried slices. The sweetness of the fruit plays a significant role in how tasty your final product will be, so opt for the ripest fruits available.
Can I use a dehydrator for drying orange slices?
Yes, using a dehydrator is an excellent method when figuring out how to make perfect dried orange slices. A dehydrator provides controlled heat and airflow, ensuring even drying without the risk of burning. Set your dehydrator to around 135°F (57°C) and arrange the orange slices in a single layer on the trays. Check them periodically; they usually take about 6 to 8 hours to dry completely. This method enhances the flavor and preserves more nutrients compared to other drying techniques.
How should I store dried orange slices?
Storing your dried orange slices correctly can extend their shelf life significantly. Once you’ve mastered how to make perfect dried orange slices, allow them to cool completely before storing them. Place the slices in an airtight container or resealable bag, storing them in a cool, dark place away from moisture. If stored properly, they can last up to a year. For longer storage, consider vacuum sealing them; this method helps maintain their flavor and texture over time.
Can I use dried orange slices for decoration?
Absolutely! Dried orange slices are not only delicious but also beautiful decorations. When learning how to make perfect dried orange slices, you can create stunning centerpieces or holiday ornaments with them. unique snack ideas They add a rustic touch to wreaths, garlands, and holiday displays. Their vibrant color and unique shapes catch the eye and evoke festive feelings, making them perfect for seasonal décor or special occasions.
Conclusion for How to Make Perfect Dried Orange Slices :
Dried orange slices are delightful snacks that enhance both taste and aesthetics in various dishes. To master how to make perfect dried orange slices, remember to select ripe oranges and utilize methods like dehydration or oven drying for optimal results. Proper storage extends their shelf life while allowing you to enjoy their vibrant flavors long after preparation. Whether used as snacks or decorative elements, these dried treats bring joy throughout the year!
How to Make Perfect Dried Orange Slices

Elevate your culinary skills with homemade dried orange slices, a vibrant treat that combines sweet and tangy flavors. These sun-kissed snacks not only serve as a refreshing snack but also make stunning garnishes for cocktails and festive decor. With just a few simple steps, you can transform fresh oranges into delightful slices that bring a burst of citrus aroma into your home. Impress your friends and family with this easy and impressive recipe!
- Prep Time: 10 minutes
- Cook Time: 240 minutes
- Total Time: 4 hours 10 minutes
- Yield: Approximately 20 servings 1x
- Category: Snack
- Method: Baking
- Cuisine: American
Ingredients
- 4 fresh oranges
- 1 sharp knife
- 1 baking sheet
- parchment paper
Instructions
- Preheat your oven to 175°F (80°C).
- Wash and dry the oranges thoroughly. Slice them into thin rounds, approximately 1/4 inch thick.
- Line the baking sheet with parchment paper and arrange the orange slices in a single layer without overlapping.
- Bake for 4-6 hours, flipping halfway through until the slices are crisp.
- Allow to cool on a wire rack before storing in an airtight container.
Nutrition
- Serving Size: 1 serving
- Calories: 14
- Sugar: 3g
- Sodium: 0mg
- Fat: 0g
- Saturated Fat: 0g
- Unsaturated Fat: 0g
- Trans Fat: 0g
- Carbohydrates: 3g
- Fiber: 1g
- Protein: 0g
- Cholesterol: 0mg