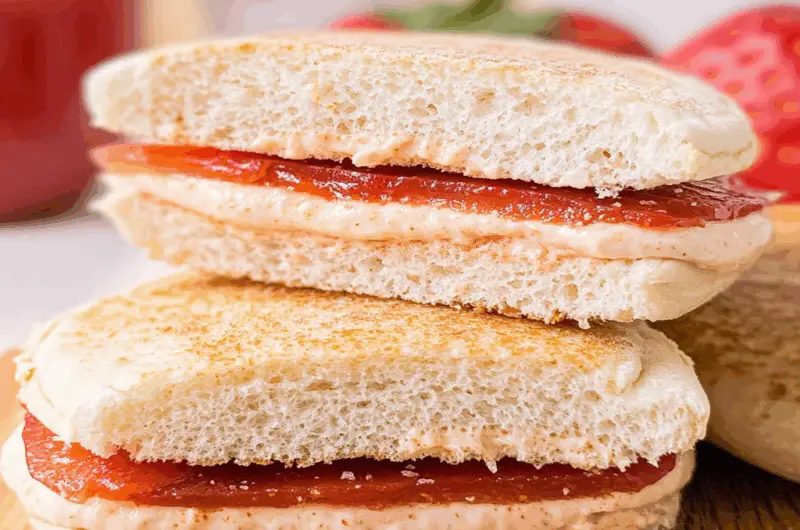
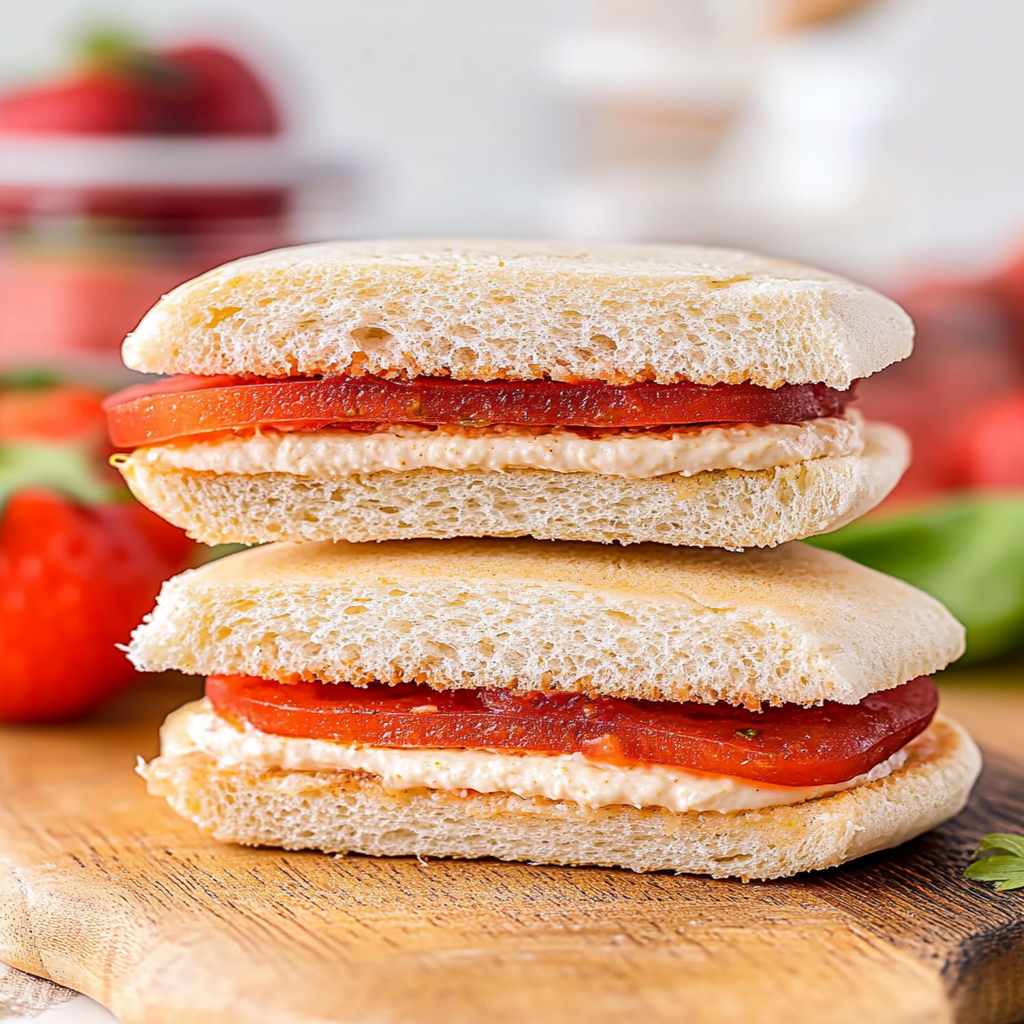
The aroma of freshly made sandwiches wafts through the air, promising a delightful experience that takes you straight back to childhood. Picture this: a perfectly round, crustless peanut butter and jelly sandwich, with the filling oozing out just enough to tantalize your taste buds. special breakfast ideas Welcome to the world of DIY Uncrustable Sandwiches, where nostalgia meets convenience, making lunchtime an adventure instead of a chore.
Now, imagine biting into one of these little pockets of joy during a picnic in the park or as a quick snack before heading out for a playdate. The best part? You can customize them however you like! Trust me; your taste buds will thank you when you try these mouthwatering creations that are not just easy to prepare but can also bring smiles to faces young and old alike.
Why You'll Love This Recipe
- These DIY Uncrustable Sandwiches are incredibly easy to make, perfect for busy days and kids’ lunches.
- They deliver a delightful flavor combination that everyone loves – sweet, nutty, and fruity all in one bite.
- Visually appealing and fun to eat, they add a pop of color to any lunchbox.
- Plus, they’re versatile!
- Customize with your favorite spreads and fillings for endless combinations.
Ingredients for DIY Uncrustable Sandwiches
Here’s what you’ll need to make this delicious dish:
- Bread: Choose your favorite type—white, whole wheat, or gluten-free are all excellent options.
- Peanut Butter: Smooth or crunchy works great! It adds protein and flavor.
- Jelly or Jam: Strawberry or grape is classic, but feel free to get adventurous with other flavors!
- Cookie Cutter: A round cookie cutter makes it easy to shape these sandwiches perfectly.
How to Make DIY Uncrustable Sandwiches
Follow these simple steps to prepare this delicious dish:
Step 1: Gather Your Ingredients
Start by laying out all your ingredients on a clean workspace. You’ll need your bread, peanut butter, jelly or jam, and cookie cutter ready for action.
Step 2: Spread the Peanut Butter
Take two slices of bread and generously spread peanut butter on one side of each slice. Don’t be shy; we want maximum peanut buttery goodness here!
Step 3: Add the Jelly
Now comes the fun part! Grab your favorite jelly or jam and slather it onto one slice over the peanut butter. Feel free to channel your inner Picasso while spreading!
Step 4: Assemble the Sandwich
Carefully place the second slice of bread (peanut butter side down) over the jelly-covered slice. Press gently to ensure they stick together nicely.
Step 5: Cut Out Your Sandwich
Using your cookie cutter, press down firmly on the assembled sandwich. Voilà! You now have an adorable crustless sandwich ready for munching.
Step 6: Enjoy Your Creation
You can either serve them immediately or pack them away for later. These tasty treats are perfect for lunchboxes or as a quick snack on-the-go!
Transfer these little delights onto plates or into lunch containers. Pack them alongside some fruit or veggies for a well-rounded meal that’s sure to bring happy faces around the table!
And there you have it—your very own batch of DIY Uncrustable Sandwiches! These delightful bites not only offer nostalgia but also allow you to unleash your creativity in the kitchen. Enjoy customizing them with different fillings and sharing them with friends and family!
You Must Know
- DIY Uncrustable Sandwiches are the ultimate solution for busy parents and snack enthusiasts alike.
- They offer a playful twist on classic sandwiches, making lunchtime fun and customizable.
- Plus, these delightful pockets can be filled with your favorite spreads and fillings, ensuring every bite is a taste sensation.
Perfecting the Cooking Process
Start by gathering all your ingredients and tools before you begin. Assemble your sandwich fillings first, then use a round cutter to remove crusts from your bread. After that, seal each sandwich with a press or a fork for a perfect finish.
Add Your Touch
Feel free to swap out traditional peanut butter for almond butter or Nutella. You can also add sliced bananas or jelly to mix up flavors. The possibilities are endless; make it sweet or savory based on your cravings.
Storing & Reheating
Store your DIY Uncrustable Sandwiches in an airtight container in the fridge for up to three days. If you want them to last longer, freeze them and thaw them in the fridge overnight before enjoying.
Chef's Helpful Tips
- Use fresh bread for the best texture, as stale bread may not seal properly.
- Ensure fillings are not too runny to avoid soggy sandwiches.
- Experiment with different shapes and themes to keep lunch exciting.
Sometimes, my kids have invited friends over just so they could show off their personalized DIY Uncrustable Sandwiches – who knew sandwiches could spark such joy?
FAQs:
What are DIY Uncrustable Sandwiches?
DIY Uncrustable Sandwiches are homemade versions of the popular store-bought sandwiches. They typically consist of bread filled with peanut butter and jelly or other fillings, then sealed to keep the contents from spilling out. family-friendly breakfast option Making them at home allows you to customize the flavors and ingredients, ensuring a healthier option for you or your kids. This fun and easy recipe is perfect for lunchboxes, snacks, or quick meals.
How do I make DIY Uncrustable Sandwiches?
To make DIY Uncrustable Sandwiches, start by laying out slices of bread. Use a round cutter to remove the crusts and create circular shapes. Spread your chosen filling on one slice, cover it with another, and press down the edges to seal. For best results, use a fork to crimp the edges securely. You can freeze these sandwiches for later use, making them a convenient option for busy days.
Can I customize my DIY Uncrustable Sandwiches?
Absolutely! One of the best things about DIY Uncrustable Sandwiches is that you can personalize them according to taste preferences. Try different spreads like almond butter, Nutella, or cream cheese. unique sandwich spreads You can also add sliced fruits like bananas or strawberries for extra flavor and nutrition. Experimenting with various combinations makes this recipe versatile and enjoyable for everyone.
How long do DIY Uncrustable Sandwiches last?
When stored properly, DIY Uncrustable Sandwiches can last up to three months in the freezer. Keep them in an airtight container or freezer bag to maintain freshness. If you’re storing them in the refrigerator, consume them within 3-5 days for optimal taste and quality. These sandwiches are great for meal prep and quick snacks on-the-go.
Conclusion for DIY Uncrustable Sandwiches:
In summary, DIY Uncrustable Sandwiches offer a simple and customizable way to enjoy a classic favorite. By making these sandwiches at home, you control the ingredients and flavors while ensuring they are fresh and nutritious. perfect brunch addition Whether you prefer traditional peanut butter and jelly or adventurous fillings, this recipe is perfect for any occasion. Enjoy preparing these delightful treats for yourself or your family!
DIY Uncrustable Sandwiches
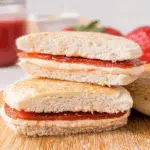
DIY Uncrustable Sandwiches are a fun and nostalgic twist on a classic favorite, perfect for both kids and adults. These crustless delights combine creamy peanut butter and sweet jelly, creating a portable pocket of joy that can be customized to suit any taste. Ideal for school lunches, picnics, or quick snacks, they are easy to make and sure to bring smiles all around.
- Prep Time: 10 minutes
- Cook Time: 0 minutes
- Total Time: 10 minutes
- Yield: Makes 2 sandwiches 1x
- Category: Snack
- Method: No cooking required
- Cuisine: American
Ingredients
- 4 slices bread (white, whole wheat, or gluten-free)
- 1/2 cup creamy or crunchy peanut butter
- 1/4 cup jelly or jam (strawberry or grape)
- 1 round cookie cutter
Instructions
- Gather all ingredients on a clean surface.
- Spread peanut butter evenly on one side of each slice of bread.
- Add jelly on top of the peanut butter on one slice.
- Place the second slice over the jelly-covered slice, peanut butter side down.
- Use the cookie cutter to cut out the sandwich shape and seal the edges by pressing down gently.
- Serve immediately or store for later.
Nutrition
- Serving Size: 1 sandwich
- Calories: 240
- Sugar: 12g
- Sodium: 210mg
- Fat: 10g
- Saturated Fat: 2g
- Unsaturated Fat: 7g
- Trans Fat: 0g
- Carbohydrates: 34g
- Fiber: 2g
- Protein: 6g
- Cholesterol: 0mg