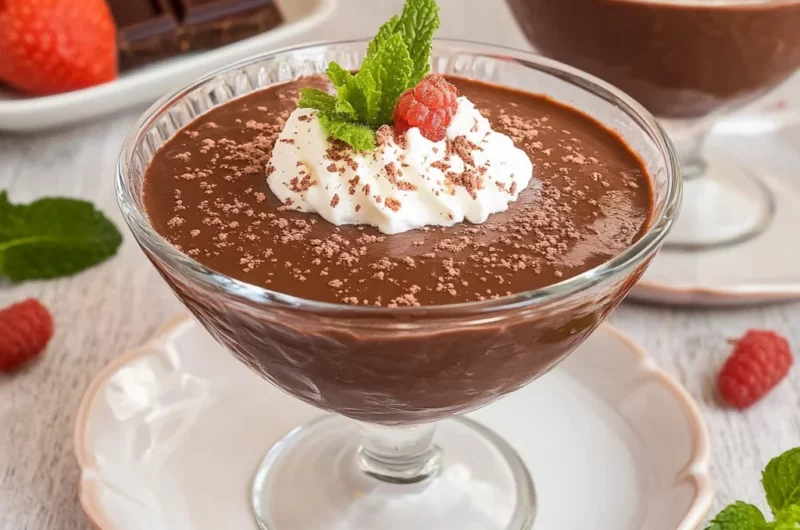
Imagine diving into a bowl of homemade chocolate pudding, where each spoonful offers a velvety texture that melts in your mouth, releasing rich cocoa flavors that dance on your taste buds. The aroma wafting through the kitchen is like a warm hug, inviting you to indulge in this delightful treat any time of year, whether it’s a cozy family gathering or a solo indulgence after a long day.
As I stirred the silky mixture on my stovetop, memories of childhood flooded back—sneaking spoonfuls while waiting for it to cool, excitement building as I dreamt of the sweet reward ahead. Homemade chocolate pudding isn’t just dessert; it’s an experience filled with nostalgia and joy, perfect for celebrations or simple weeknight cravings. Get ready to savor every bite and relive those cherished moments!
Why Is Homemade Chocolate Pudding So Irresistibly Good?
Rich and creamy texture that melts in your mouth, making every spoonful a delight.
Simple ingredients like milk, sugar, and cocoa come together effortlessly in just 15 minutes of prep time.
Versatile treat—enjoy it as is, or elevate with toppings like whipped cream or fresh fruit!
Crowd-pleaser: this pudding is a nostalgic favorite for all ages, perfect for family gatherings or quiet evenings at home.
Once you try this homemade version, you’ll never reach for store-bought again!
Ingredients for Homemade Chocolate Pudding
- 2 cups milk (whole or 2%) – This creamy base adds richness; whole milk will yield a more decadent pudding.
- 1/2 cup granulated sugar – Sweetens the pudding perfectly; feel free to adjust to taste for your family’s preference.
- 1/4 cup unsweetened cocoa powder – Provides the deep chocolate flavor that makes this Homemade Chocolate Pudding irresistible.
- 1/4 cup cornstarch – Acts as a thickening agent, ensuring your pudding has that perfect, luscious texture.
- 1/4 teaspoon salt – Enhances all the flavors and balances the sweetness beautifully.
- 1 teaspoon vanilla extract – Adds a warm, aromatic note that elevates your homemade treat to gourmet status.
- 2 tablespoons butter (unsalted) – Stir in at the end for a silky finish that brings everything together harmoniously.
How to Make Homemade Chocolate Pudding
1. Whisk together the granulated sugar, unsweetened cocoa powder, cornstarch, and salt in a saucepan. This will create a smooth base for your rich pudding, ensuring all dry ingredients are well combined.
2. Gradually add the 2 cups of milk while whisking continuously. This helps to blend the ingredients without lumps, creating a creamy texture as you mix them together.
3. Cook over medium heat, stirring constantly until the mixture thickens and begins to boil, about 5-7 minutes. You’ll notice the color deepening and the mixture becoming velvety as it cooks.
4. Remove from heat and stir in the 1 teaspoon of vanilla extract and 2 tablespoons of unsalted butter until smooth. This final touch adds a luxurious richness to your homemade chocolate pudding.
5. Pour into bowls and refrigerate until set, about 2 hours. This chilling time allows the pudding to firm up beautifully, making each bite perfectly indulgent.
Optional: Top with whipped cream or chocolate shavings for an extra treat!
Exact quantities are listed in the recipe card below.
Tips for the Best Homemade Chocolate Pudding
- Milk Choice: Use whole or 2% milk for a creamier texture; non-fat milk may lead to a thinner pudding that lacks richness.
- Whisk Constantly: Stir continuously while cooking to prevent lumps and ensure a smooth consistency in your homemade chocolate pudding.
- Cooking Temperature: Keep the heat at medium; too high can cause the pudding to scorch, while too low may not thicken properly.
- Thickening Time: Don’t rush the cooking process; allow the mixture to thicken adequately before removing it from the heat—this usually takes about 5-10 minutes.
- Chill Properly: Make sure to refrigerate the pudding until fully set, which typically takes at least two hours—this enhances its flavor and texture.
How to Store and Freeze Homemade Chocolate Pudding
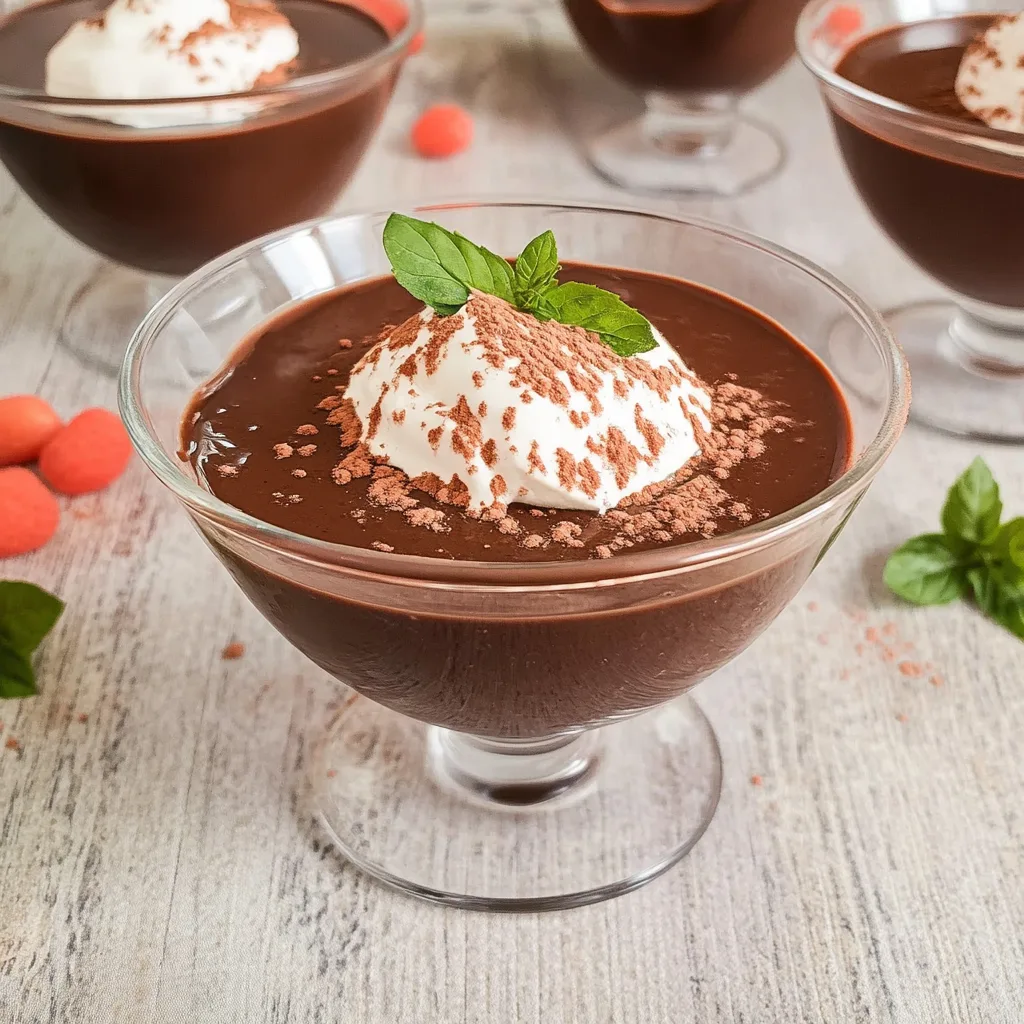
- Fridge: Store your Homemade Chocolate Pudding in an airtight container for up to 3 days to maintain its rich, creamy texture and flavor.
- Covering: To prevent a skin from forming, gently press a piece of plastic wrap directly onto the surface of the pudding before sealing it in the container.
- Freezer: You can freeze Homemade Chocolate Pudding for up to 2 months, but be aware that the texture may change slightly upon thawing.
- Reheating: When ready to enjoy, thaw in the fridge overnight and gently reheat on the stove over low heat, stirring constantly until warmed through.
Homemade Chocolate Pudding Your Way
Feel free to get creative with this delightful dessert and tailor it to your taste buds!
- Dairy-Free: Substitute the milk with almond, oat, or coconut milk for a creamy alternative. You’ll still achieve that luscious texture while keeping it plant-based.
- Dark Chocolate: Use 1/3 cup of dark cocoa powder instead of unsweetened for a richer, more intense chocolate flavor. This twist is perfect for true chocolate lovers seeking an indulgent experience.
- Minty Fresh: Add 1/2 teaspoon of peppermint extract in place of vanilla for a refreshing mint chocolate pudding. It’s a delightful surprise that pairs wonderfully with whipped cream on top.
- Spicy Kick: Incorporate a pinch of cayenne pepper or chili powder to the dry ingredients for a warm, spicy twist. The heat will elevate the chocolate and add an unexpected depth.
- Nutty Flavor: Swap in 1/4 cup of ground nuts or nut butter to enhance the pudding’s creaminess and introduce new flavors. Almond or hazelnut butter adds a lovely richness that complements chocolate beautifully.
- Coffee Infusion: Replace 1/2 cup of milk with strong brewed coffee for a mocha-inspired treat. This variation delivers a delightful caffeine boost along with rich chocolate notes.
- Coconut Delight: Use coconut milk instead of regular milk and add shredded coconut for tropical flair. This version brings an exotic touch that transports you to sunny shores with every spoonful.
- Caramel Swirl: Drizzle in homemade or store-bought caramel sauce just before serving for an irresistible sweet contrast. The combination of caramel and chocolate creates a luxurious dessert experience!
Make Ahead Options
Preparing this rich and creamy Homemade Chocolate Pudding in advance is a wonderful way to simplify your dessert planning while still delighting your family with a beloved treat. You can easily measure out the 2 cups of milk, 1/2 cup granulated sugar, 1/4 cup unsweetened cocoa powder, 1/4 cup cornstarch, and 1/4 teaspoon salt ahead of time, storing them in airtight containers for up to three days. Furthermore, you can whisk together the dry ingredients in advance and refrigerate them until you’re ready to cook. When it’s time to enjoy your pudding, simply follow the cooking steps—combine the prepared ingredients, heat until thickened, and stir in the vanilla extract and butter. Once it’s poured into bowls, let it chill in the refrigerator for at least two hours for optimal texture and flavor. This way, you can savor your delightful Homemade Chocolate Pudding without any last-minute fuss!
Homemade Chocolate Pudding Questions Answered
What type of milk is best for homemade chocolate pudding?
You can use either whole or 2% milk for a rich and creamy texture. Whole milk will give you the most indulgent flavor, while 2% provides a slightly lighter option without sacrificing too much creaminess.
Can I substitute the granulated sugar with something else?
Absolutely! If you’re looking for alternatives, you can use coconut sugar or a sugar substitute like Stevia. Just keep in mind that this may alter the final flavor and sweetness level, so you may need to adjust to taste.
How should I store my homemade chocolate pudding?
Store your pudding in an airtight container in the refrigerator for up to 4 days. Make sure to cover the surface with plastic wrap to prevent a skin from forming.
Is it possible to freeze chocolate pudding?
While it’s not ideal, you can freeze homemade chocolate pudding. Just be aware that the texture may change upon thawing—becoming a bit grainy. If you do freeze it, ensure it’s in an airtight container and consume within 1-2 months for the best quality.
What should I do if my pudding doesn’t thicken?
If your pudding isn’t thickening as expected, it might be due to undercooking or not whisking enough during the heating process. Make sure to cook over medium heat and stir constantly until it reaches a gentle boil and begins to thicken—this usually takes about 10 minutes.
How many servings does this recipe yield?
This recipe makes 4 delightful servings of creamy chocolate pudding, each around 200 calories. It’s perfect for sharing with family or enjoying all by yourself on those cozy nights!
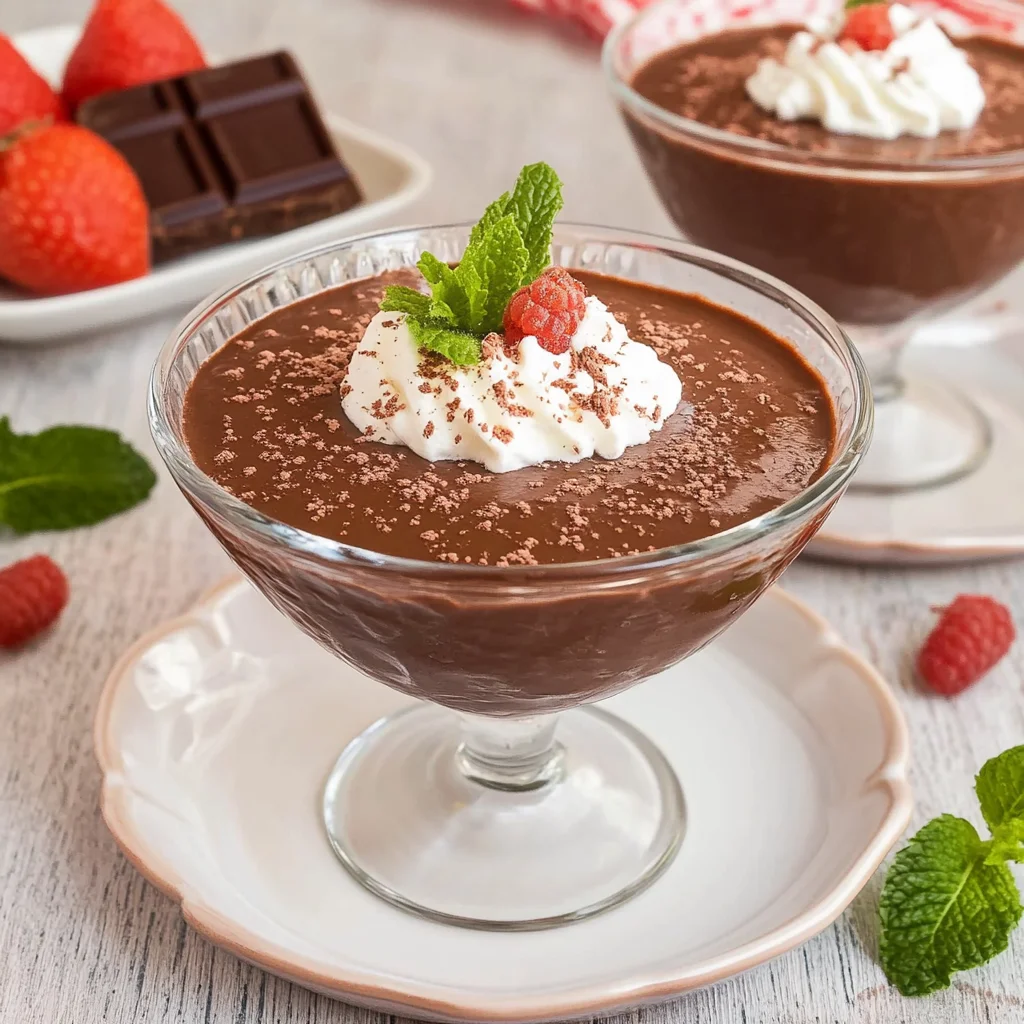
Homemade Chocolate Pudding
Method
- In a saucepan, whisk together the sugar, cocoa powder, cornstarch, and salt.
- Gradually add the milk while whisking to combine.
- Cook over medium heat, stirring constantly until the mixture thickens and starts to boil.
- Remove from heat and stir in the vanilla and butter until smooth.
- Pour the pudding into serving bowls and refrigerate until set.