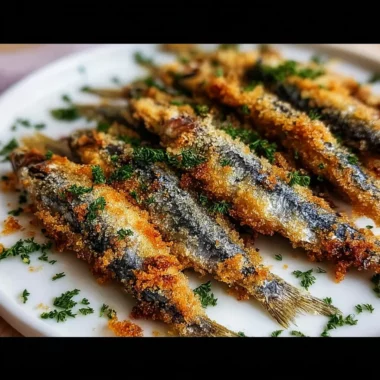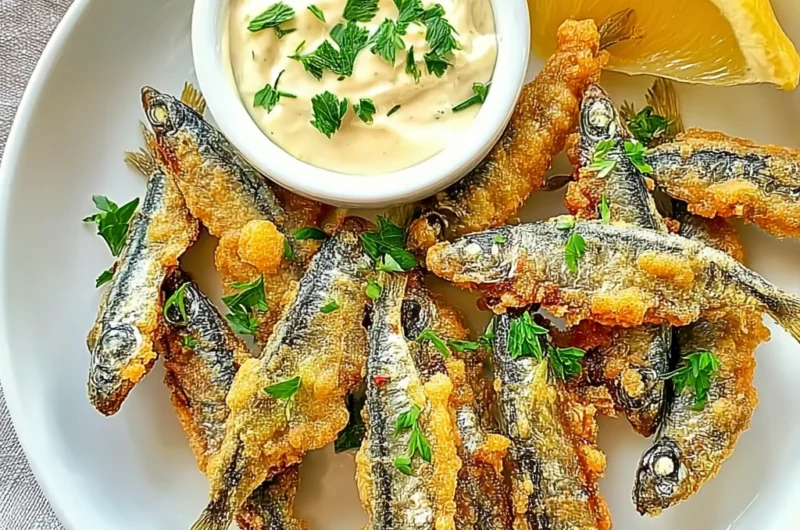
Imagine sinking your teeth into crispy Spanish-style fried sardines, where the golden crust crackles with each bite, releasing a delightful medley of ocean-fresh flavors that dance on your palate. The aroma wafts through the air, calling to mind sun-soaked afternoons spent at bustling tapas bars, laughter mingling with the sound of clinking glasses and sizzling pans.
As you savor these little fishy wonders, memories of family gatherings and joyous celebrations come flooding back. Perfect for an impromptu gathering or a cozy night in, these sardines promise not just a dish but an experience bursting with flavor and nostalgia that will leave everyone asking for seconds.
Why Is Crispy Spanish-Style Fried Sardines for a Quick Tapas Treat So Irresistibly Good?
Quick and easy: With just 15 minutes of prep and 10 minutes of cooking, this dish fits perfectly into any busy schedule.
Flavor-packed: The combination of fresh sardines and a light, crispy breading offers a delightful burst of flavor in every bite.
Versatile delight: Perfect as an appetizer or a main course, these fried sardines are sure to impress your guests at any gathering.
Crowd favorite: Serve them up at parties, and watch as they disappear—everyone will be raving about this unique tapas treat!
Crispy Spanish-Style Fried Sardines for a Quick Tapas Treat Ingredients
For the Sardines
- 1 pound fresh sardines (cleaned and scaled) – Choose vibrant, fresh sardines for the best flavor and texture in your crispy tapas treat.
For the Breading
- 1 cup all-purpose flour – This provides a light, crispy coating that beautifully enhances the sardines when fried.
- 1 teaspoon salt – Essential for bringing out the natural flavors of the sardines.
- 1 teaspoon black pepper – Adds a hint of spice that perfectly complements the fish.
For the Oil
- 2 cups olive oil (for frying) – A high-quality olive oil not only fries beautifully but also imparts a rich taste to your dish.
Step-by-Step Crispy Spanish-Style Fried Sardines for a Quick Tapas Treat
1. Rinse the sardines under cold water and pat them dry with paper towels. This ensures that your 1 pound of fresh sardines (cleaned and scaled) are ready for a perfect fry without excess moisture.
2. Mix in a bowl, combining 1 cup of all-purpose flour, 1 teaspoon of salt, and 1 teaspoon of black pepper. This flavorful breading will create a delightful crispy coating that enhances the natural taste of the sardines.
3. Dredge each sardine in the flour mixture, shaking off any excess. Make sure every inch is coated—this step is crucial for achieving that golden crispiness!
4. Heat 2 cups of olive oil in a frying pan over medium-high heat. Wait until the oil shimmers, indicating it’s hot enough for frying; this usually takes about 5 minutes.
5. Fry the sardines in batches, ensuring not to overcrowd the pan. Cook until they turn golden brown and crispy, about 3-4 minutes per side—watch for that beautiful color!
6. Remove the fried sardines and drain them on paper towels to absorb any excess oil. This final touch keeps them crispy while you’re preparing to serve.
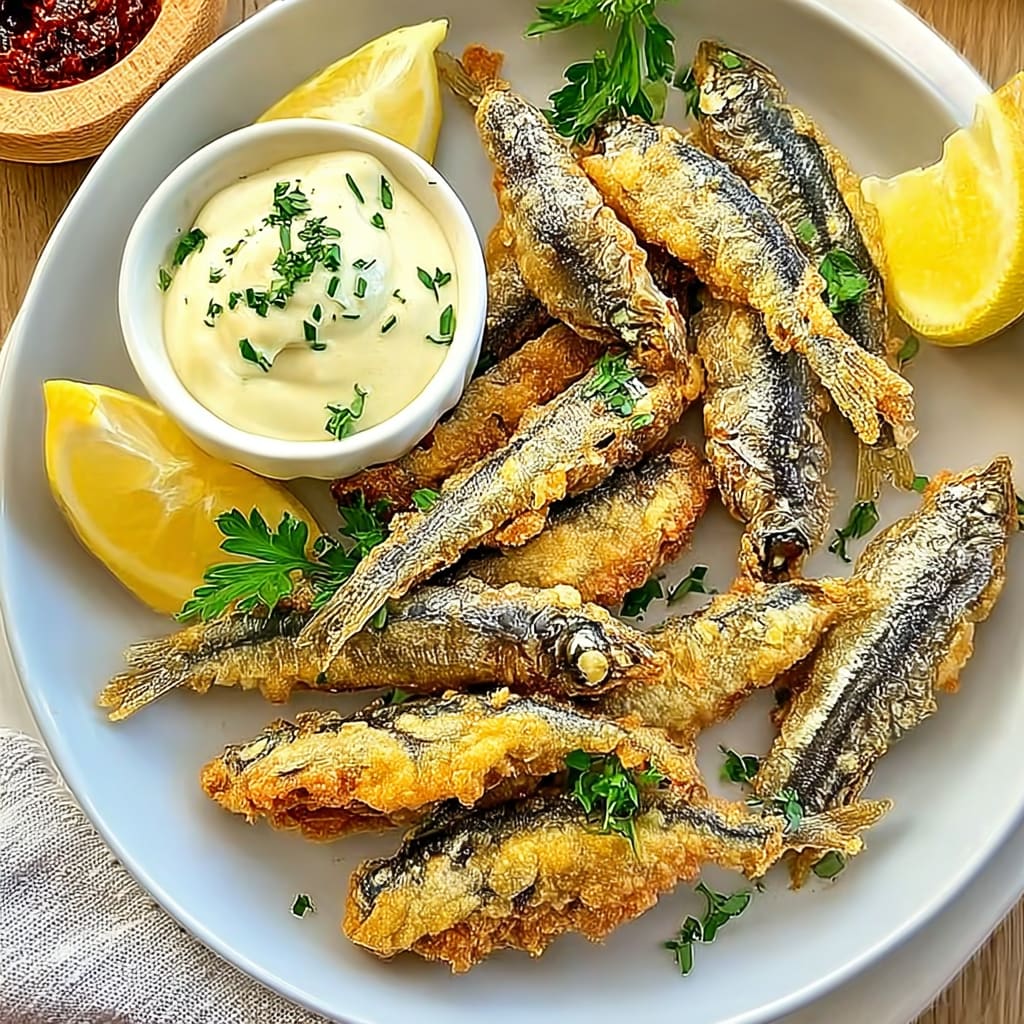
Optional: Serve with a squeeze of lemon or your favorite dipping sauce for an extra zing!
Exact quantities are listed in the recipe card below.
Expert Tips
- Dry Sardines Well: Ensure sardines are patted dry to prevent excess moisture, which can lead to sogginess instead of crispy Spanish-style fried sardines.
- Proper Oil Temperature: Use a thermometer to check that the olive oil is hot enough (around 350°F) before frying; too cool oil can make them greasy.
- Batch Frying: Avoid overcrowding the pan. Fry sardines in small batches for even cooking and optimal crispiness.
- Shake Off Excess Flour: After dredging, gently shake off any extra flour. Too much flour will create a heavy coating rather than a light, crispy texture.
- Drain Immediately: Transfer fried sardines to paper towels right after cooking to absorb any excess oil, maintaining their delightful crispiness.
How to Store and Freeze Crispy Spanish-Style Fried Sardines for a Quick Tapas Treat
- Room Temperature: Enjoy your Crispy Spanish-Style Fried Sardines for a Quick Tapas Treat immediately after cooking for the best flavor and texture.
- Fridge: Store any leftovers in an airtight container in the fridge for up to 3 days. Reheat in an oven to maintain crispiness.
- Freezer: If you want to freeze, place cooled sardines in a single layer on a baking sheet, freeze until solid, then transfer to a freezer bag. They can be kept for up to 2 months.
- Reheating: To reheat frozen sardines, bake them at 375°F (190°C) for about 10-12 minutes until heated through and crispy again.
Crispy Spanish-Style Fried Sardines for a Quick Tapas Treat Your Way
Feel free to get creative and make this dish uniquely yours with these delightful twists!
- Gluten-Free: Swap all-purpose flour with a gluten-free blend for a crispy coating that everyone can enjoy. This option retains the satisfying crunch while accommodating dietary needs, making it perfect for gatherings.
- Spicy Kick: Add 1 teaspoon of smoked paprika or cayenne pepper to the flour mixture for an extra layer of heat. This twist brings warmth and depth to every bite, offering a smoky flavor that pairs beautifully with the sardines.
- Herb Infusion: Mix in 1 tablespoon of finely chopped fresh parsley or cilantro with the breading for a burst of freshness. The herbs not only enhance the flavor but also add vibrant color, making your dish even more appealing.
- Citrus Zest: Incorporate the zest of one lemon or orange into the flour mixture for a bright, zesty finish. The citrus notes complement the savory sardines perfectly, providing a refreshing contrast that elevates the dish.
- Panko Crunch: Use panko breadcrumbs instead of flour for an ultra-crispy texture. This variation adds an irresistible crunch, making each bite an exciting experience that guests will rave about.
- Beer Battered: Replace water in your batter with cold beer for a richer flavor and lighter texture. The carbonation helps create an airy lightness that contrasts wonderfully with the tender fish inside.
- Anchovy Lovers: For added umami, fold in finely chopped anchovies into the flour mix before breading. This twist enhances the flavor profile significantly, giving those who adore anchovies something extra special to savor.
- Mediterranean Herb Blend: Sprinkle dried oregano and thyme into your breading for an aromatic touch reminiscent of Mediterranean cuisine. These herbs infuse each sardine with delightful fragrance and flavor, taking you on a culinary trip to Spain!
Make Ahead Options
This recipe for Crispy Spanish-Style Fried Sardines for a Quick Tapas Treat is perfect for meal prep, allowing you to enjoy these delightful bites with minimal fuss. You can clean and scale the 1 pound of fresh sardines up to 24 hours in advance, ensuring they’re ready when you are. Additionally, the breading mixture of 1 cup all-purpose flour, 1 teaspoon salt, and 1 teaspoon black pepper can be pre-mixed and stored in an airtight container for up to 3 days. When you’re ready to serve, simply dredge the prepared sardines in the flour mixture and fry them in the heated olive oil until golden brown and crispy—about 3-4 minutes per side. For optimal quality, it’s best to fry just before serving; this way, you’ll savor that irresistible crunch!
Crispy Spanish-Style Fried Sardines for a Quick Tapas Treat Questions Answered
What type of sardines should I use for this recipe?
For the best flavor and texture, opt for fresh sardines that are cleaned and scaled. This ensures they fry up beautifully crispy and retain their delicate flavor. If fresh sardines are unavailable, you can use canned sardines, but the frying process will be different—more like warming them through than achieving that lovely crunch.
How do I store leftover fried sardines?
If you have any leftovers (which is rare with these tasty bites!), let them cool completely before placing them in an airtight container. Store them in the refrigerator for up to 2 days. To retain some crispiness, reheat them in a hot oven (about 375°F) for a few minutes rather than microwaving them.
Can I freeze crispy fried sardines?
While it’s not ideal to freeze already fried sardines due to the loss of texture, you can freeze uncooked, breaded sardines. Prepare them as directed but stop before frying. Place them in a single layer on a baking sheet until frozen solid, then transfer to a freezer bag. They can be cooked straight from frozen—just add an extra minute or two to your frying time.
What should I serve with my fried sardines?
These crispy delights shine when paired with simple sides like lemon wedges, aioli, or a fresh salad. You might also consider serving them alongside crusty bread or olives for an authentic tapas experience. A nice chilled white wine complements this dish beautifully too!
What’s the cooking time for perfect crispy sardines?
Frying the sardines takes about 10 minutes in total; you’ll want to cook each side for approximately 3-4 minutes until they’re golden brown and crispy. Keep an eye on the oil temperature; if it’s too hot, the outside may burn while the inside remains undercooked.
Are there any dietary considerations I should be aware of?
This recipe is naturally gluten-containing due to the all-purpose flour used for breading. If you’re looking for a gluten-free option, consider using rice flour or a gluten-free all-purpose blend as an alternative. Additionally, this dish is pescatarian-friendly and packed with protein at around 250 calories per serving!