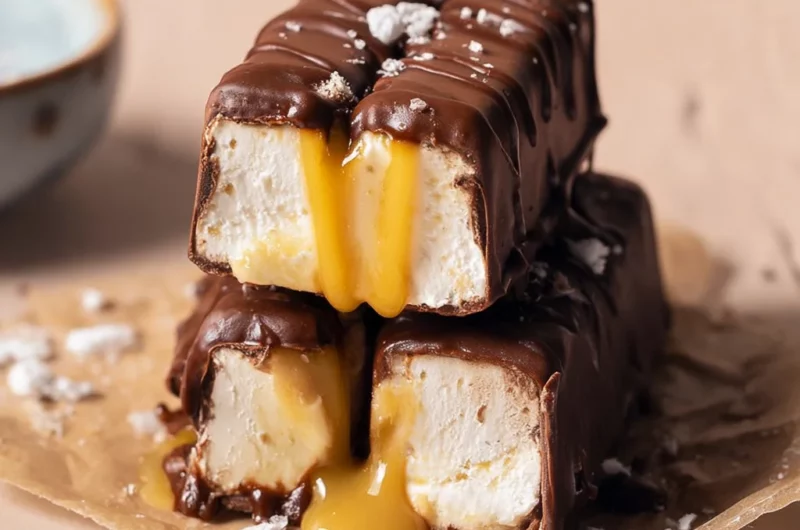
Imagine indulging in a creamy, dreamy Vegan Twix Ice Cream that encapsulates the rich flavors of chocolate and caramel, each bite a symphony of textures and aromas. The moment you scoop into this delightful treat, the lusciousness melts away your worries, inviting you to savor every spoonful with glee.
This ice cream isn’t just a dessert; it’s a nostalgic journey back to carefree days spent enjoying sweet treats on sunny afternoons. Perfect for summer gatherings or cozy nights in, each scoop promises an explosion of flavor that will leave you craving more, making it a must-try for both vegan enthusiasts and candy lovers alike.
Why Will You Keep Making Vegan Twix Ice Cream?
Indulging in this creamy delight is guilt-free! Combining rich coconut milk with maple syrup creates a luscious base that’s simply irresistible. Layered with naturally sweet dates and nut butter, the caramel offers a delightful surprise. Topped with a decadent chocolate layer, each bite delivers nostalgia without the dairy. Quick to whip up, it’s perfect for spontaneous cravings or impressing guests—everyone will ask for seconds!
Vegan Twix Ice Cream Ingredients
For the Base
- 2 cups coconut milk – This creamy base gives a rich texture, perfect for mimicking classic ice cream.
- 1/2 cup maple syrup – A natural sweetener that adds depth and enhances the overall flavor.
- 1 teaspoon vanilla extract – This adds a warm, aromatic note that complements the other flavors beautifully.
For the Caramel Layer
- 1/2 cup dates (soaked in water) – Soaking makes them soft and easy to blend into a luscious caramel consistency.
- 1/4 cup nut butter – Choose your favorite, as it will lend creaminess and a nutty flavor to the caramel layer.
- 1 tablespoon coconut oil – Helps to achieve a smooth texture in your caramel, making it easily spreadable.
For the Chocolate Layer
- 1/2 cup cocoa powder – Rich and dark, this provides that beloved chocolate flavor reminiscent of Twix bars.
- 1/4 cup coconut oil (melted) – This is crucial for achieving a silky chocolate layer that coats your ice cream perfectly.
- 1/4 cup maple syrup – Adds sweetness and balances the bitterness of the cocoa powder for that delectable taste.
How to Make Vegan Twix Ice Cream
1. Blend coconut milk, maple syrup, and vanilla extract until smooth. This creamy base will be the heart of your Vegan Twix Ice Cream, so ensure it’s well combined for a luscious texture.
2. Pour the mixture into an ice cream maker and churn according to the manufacturer’s instructions. In about 20 minutes, watch as it transforms into a delightful soft-serve consistency.
For the Caramel Layer:
3. Blend soaked dates, nut butter, and coconut oil until smooth. This rich caramel will add that beloved sweetness reminiscent of Twix bars—blend until velvety!
4. Spread the caramel layer over the churned ice cream in a container. Gently smooth it out to create a beautifully even layer that enhances both flavor and texture.
For the Chocolate Layer:
5. Mix cocoa powder, melted coconut oil, and maple syrup until well combined. Stir until glossy; this chocolate layer will give your ice cream that indulgent finish we all crave.
6. Drizzle the chocolate layer over the caramel layer. Let it flow over your creation like a sweet waterfall, adding visual appeal and deliciousness!
7. Cover the container and freeze for at least 4 hours or until firm. Patience is key here—once set, you’ll have a divine treat ready to scoop!
Optional: Garnish with crushed nuts for an extra crunch!
Exact quantities are listed in the recipe card below.
Expert Tips
- Coconut Milk Choice: Use full-fat coconut milk for a creamier texture. Low-fat variants can lead to a less satisfying consistency in your Vegan Twix Ice Cream.
- Date Soaking Time: Ensure you soak the dates for at least 30 minutes. This softens them and makes blending easier, resulting in a smoother caramel layer.
- Nut Butter Selection: Choose a nut butter that you love. Almond or cashew butter adds a lovely flavor, while peanut butter gives that classic Twix taste—just avoid overly sweetened varieties.
- Churning Technique: Don’t skip the churning step! Properly churning the ice cream base ensures it remains creamy instead of icy. Follow your ice cream maker’s instructions closely.
- Layer Distribution: Spread the caramel evenly over the churned ice cream to avoid clumping. This helps maintain the balance of flavors in every scoop of your Vegan Twix Ice Cream.
- Freezing Duration: Be patient with freezing; letting it set for at least 4 hours ensures optimal firmness. Cutting corners here can lead to a mushy dessert.
How to Store and Freeze Vegan Twix Ice Cream
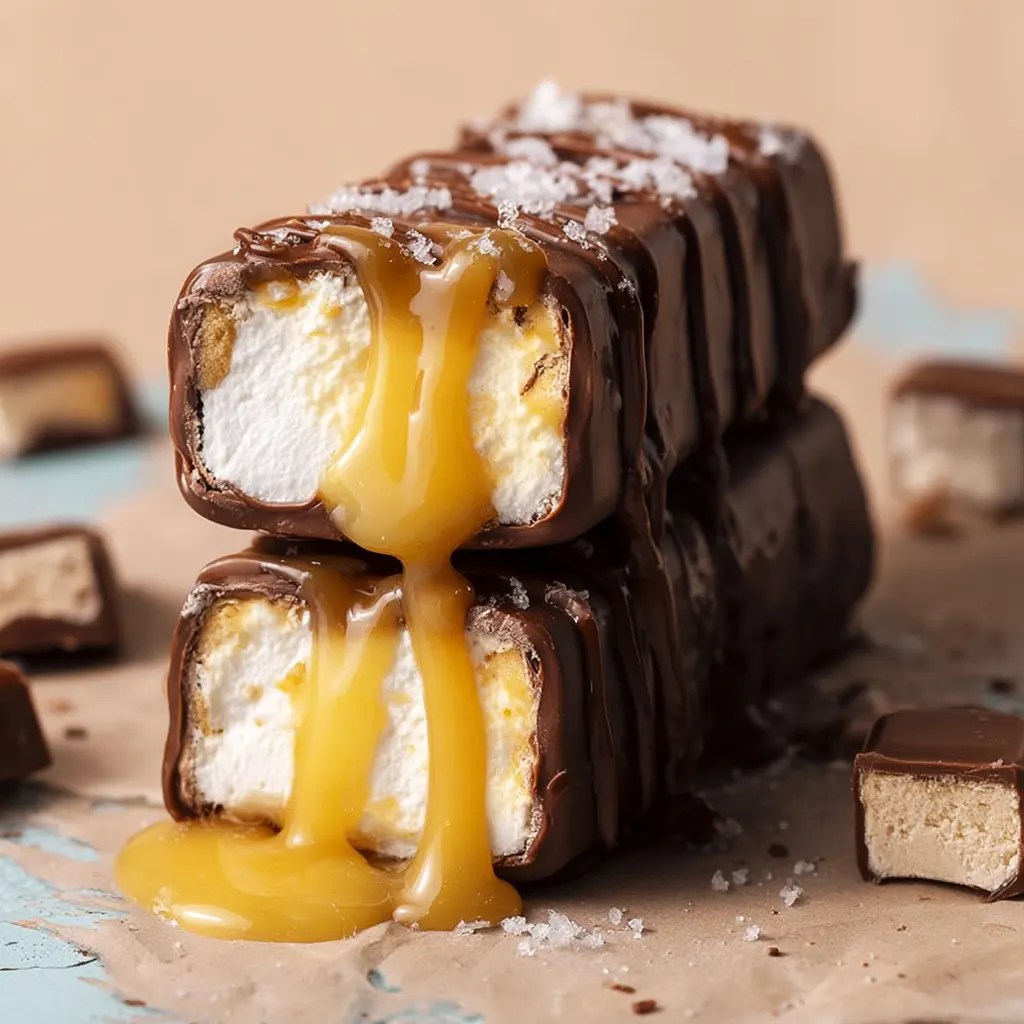
- Freezer: Store your Vegan Twix Ice Cream in an airtight container for up to 2 weeks to maintain its creamy texture and flavor.
- Thawing: When ready to enjoy, transfer the ice cream to the fridge for about 30 minutes before serving. This makes scooping much easier!
- Leftovers: If you have any leftovers, ensure they are tightly sealed to prevent freezer burn, which can affect the taste and texture.
- Avoid Refreezing: For the best experience, avoid refreezing once thawed, as it can alter the creaminess of your delicious treat.
Vegan Twix Ice Cream Your Way
Feel free to unleash your creativity and customize this delightful treat to suit your taste buds!
- Nut-Free: Replace the nut butter with sunflower seed butter for a deliciously creamy alternative. This swap ensures everyone can enjoy a scoop without worrying about allergies.
- Sweetness Level: Adjust the maple syrup to taste, using agave syrup or date syrup for different flavor profiles. Each sweetener brings its own unique sweetness that can transform the overall taste of your ice cream.
- Rich Chocolate: Add an extra tablespoon of cocoa powder for an even richer chocolate experience. This twist will satisfy any serious chocolate lover’s cravings.
- Fruity Surprise: Blend in some frozen bananas or strawberries before freezing for a fruity layer of flavor. The natural sweetness of the fruit will add a refreshing twist to your ice cream.
- Creamy Texture: Use cashew cream instead of coconut milk for a silkier texture. This swap adds a nutty richness that complements the other flavors beautifully.
- Salted Caramel: Sprinkle a pinch of sea salt into the caramel layer for a delightful contrast to the sweetness. This simple addition will elevate the flavor profile and create a decadent treat.
- Spicy Kick: Stir in a dash of cayenne pepper or chili powder for surprising heat in your chocolate layer. This unexpected twist creates an exciting flavor combination that will intrigue adventurous eaters.
Make Ahead Options
This Vegan Twix Ice Cream is not just a delightful treat; it’s also perfect for meal prep, allowing you to indulge in its creamy goodness whenever the craving strikes. You can prepare the ice cream base up to 24 hours in advance by blending 2 cups of coconut milk, 1/2 cup of maple syrup, and 1 teaspoon of vanilla extract until smooth, then churning it in an ice cream maker. The caramel layer can be made ahead as well—simply blend 1/2 cup of soaked dates, 1/4 cup of nut butter, and 1 tablespoon of coconut oil until smooth and ready to spread over your churned ice cream. For the chocolate layer, mix together 1/2 cup of cocoa powder, 1/4 cup of melted coconut oil, and 1/4 cup of maple syrup, which can also be prepared ahead of time. After completing these steps, simply freeze the assembled layers for at least four hours or until firm. To maintain quality, cover your container tightly in the freezer; this Vegan Twix Ice Cream will keep well for about three days. When you’re ready to serve, just scoop out your desired amount and enjoy!
Vegan Twix Ice Cream Recipe FAQs
What type of coconut milk should I use for the ice cream base?
For a rich and creamy texture, opt for full-fat coconut milk from a can. This will give your Vegan Twix Ice Cream a luxurious mouthfeel. If you’re looking for a lighter version, you can use light coconut milk, but be aware that the ice cream may be less creamy.
Can I substitute maple syrup with another sweetener?
Absolutely! While maple syrup provides a delightful flavor and sweetness, you can use agave syrup or date syrup as alternatives. Just keep in mind that different sweeteners may alter the taste slightly, so choose one that complements your preferences.
How long can I store the Vegan Twix Ice Cream in the freezer?
This indulgent ice cream can be stored in an airtight container in the freezer for up to 2 weeks. However, for the best texture and flavor, enjoy it within the first week. Over time, it may become icy or lose its creamy consistency.
What nut butter works best for the caramel layer?
Creamy almond butter or cashew butter work wonderfully for this recipe! They blend seamlessly with soaked dates to create a smooth caramel. If you’re allergic to nuts, sunflower seed butter is also a great option that gives a deliciously different flavor profile.
Can I make this ice cream without an ice cream maker?
Of course! If you don’t have an ice cream maker, simply pour the blended base into a shallow container and place it in the freezer. Stir every 30-60 minutes for about 4 hours until it’s firm but still scoopable. This method requires a bit more effort but yields great results!
Is this Vegan Twix Ice Cream suitable for other dietary needs?
Yes! This recipe is not only vegan but also gluten-free and refined sugar-free due to its wholesome ingredients. Make sure to check that your nut butter and any alternative sweeteners used align with your dietary requirements, ensuring everyone can enjoy this delightful treat!
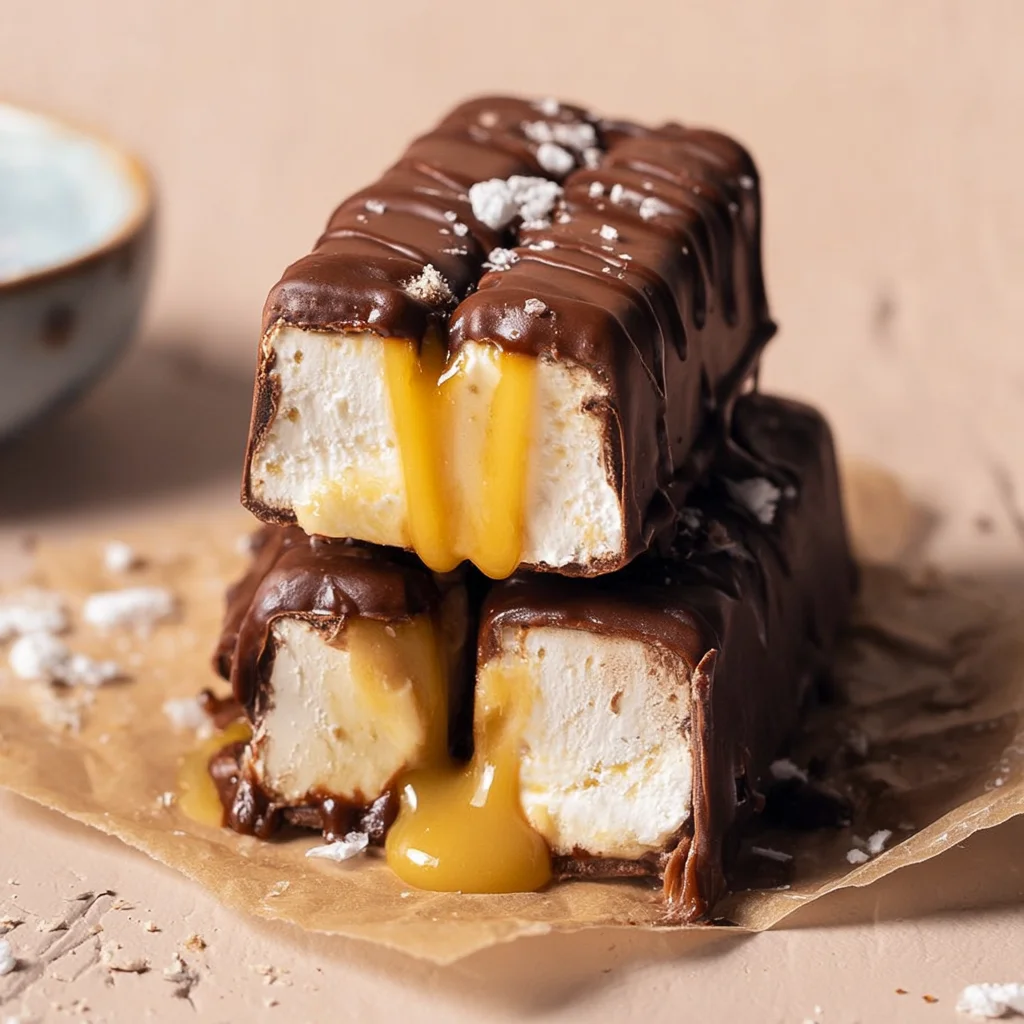
Vegan Twix Ice Cream
Ingredients
Method
- Blend coconut milk, maple syrup, and vanilla extract until smooth.
- Pour the mixture into an ice cream maker and churn according to the manufacturer's instructions.
- Blend soaked dates, nut butter, and coconut oil until smooth.
- Spread the caramel layer over the churned ice cream in a container.
- Mix cocoa powder, melted coconut oil, and maple syrup until well combined.
- Drizzle the chocolate layer over the caramel layer.
- Cover the container and freeze for at least 4 hours or until firm.