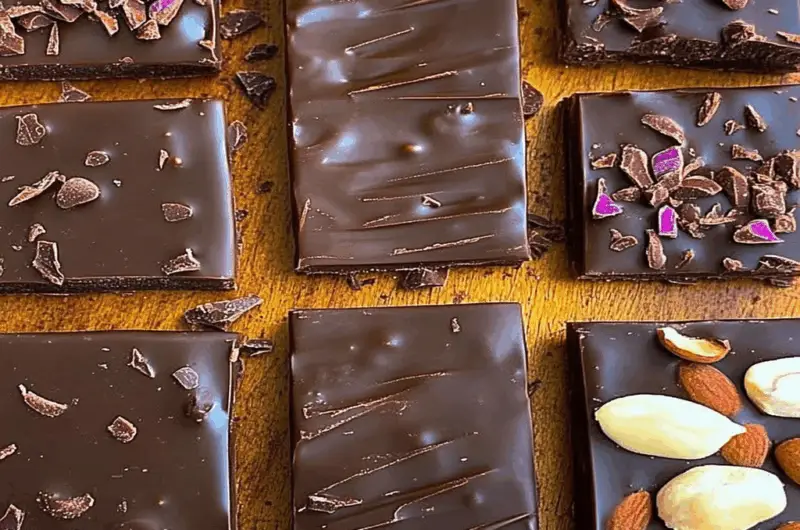
The sweetness of decadent chocolate mingling with a hint of sea salt creates an experience that dances on your taste buds. Imagine biting into a homemade chocolate bar, its glossy surface giving way to a rich, velvety interior that feels like a warm hug on a cool day. Each bite is pure bliss, and trust me, you’ll want to savor every moment.
Now picture this: your kitchen filled with the delightful aroma of melting chocolate, as you channel your inner Willy Wonka. Whether it’s a rainy Saturday afternoon or a celebratory gathering with friends, making these homemade chocolate bars is more than just cooking; it’s creating memories that are bound to be sweet.
Why You'll Love This Recipe
- This homemade chocolate bars recipe is super easy to whip up, perfect for satisfying those sweet cravings.
- You can customize flavors and add-ins based on your mood or pantry contents.
- The stunning visual appeal makes them ideal for gifting or special occasions.
- Versatile enough for parties or quiet nights in, these bars are always a hit!
Ingredients for Homemade Chocolate Bars
Here’s what you’ll need to make this delicious dish:
- Dark Chocolate Chips: Choose high-quality chocolate chips for the best flavor; I usually go for something around 60-70% cocoa.
- Coconut Oil: This ingredient adds a lovely smoothness and shine to your chocolate bars.
- Sea Salt: A sprinkle of sea salt enhances the sweetness and gives a gourmet touch to your homemade bars.
- Nuts or Dried Fruits (Optional): Customize your bars by adding your favorite nuts or dried fruits; they add texture and flavor.
How to Make Homemade Chocolate Bars
Follow these simple steps to prepare this delicious dish:
Step 1: Melt the Chocolate
Begin by placing dark chocolate chips and coconut oil in a microwave-safe bowl. Heat in 30-second increments until fully melted, stirring in between to ensure smoothness.
Step 2: Prepare Your Molds
While the chocolate melts, grab some silicone molds or an old baking tray lined with parchment paper. This step is crucial because nobody wants their beautiful creation stuck!
Step 3: Pour and Tap
Once melted, pour the chocolaty goodness into your molds. Tap them gently on the counter to release any air bubbles – you want these bars looking flawless!
Step 4: Add Toppings
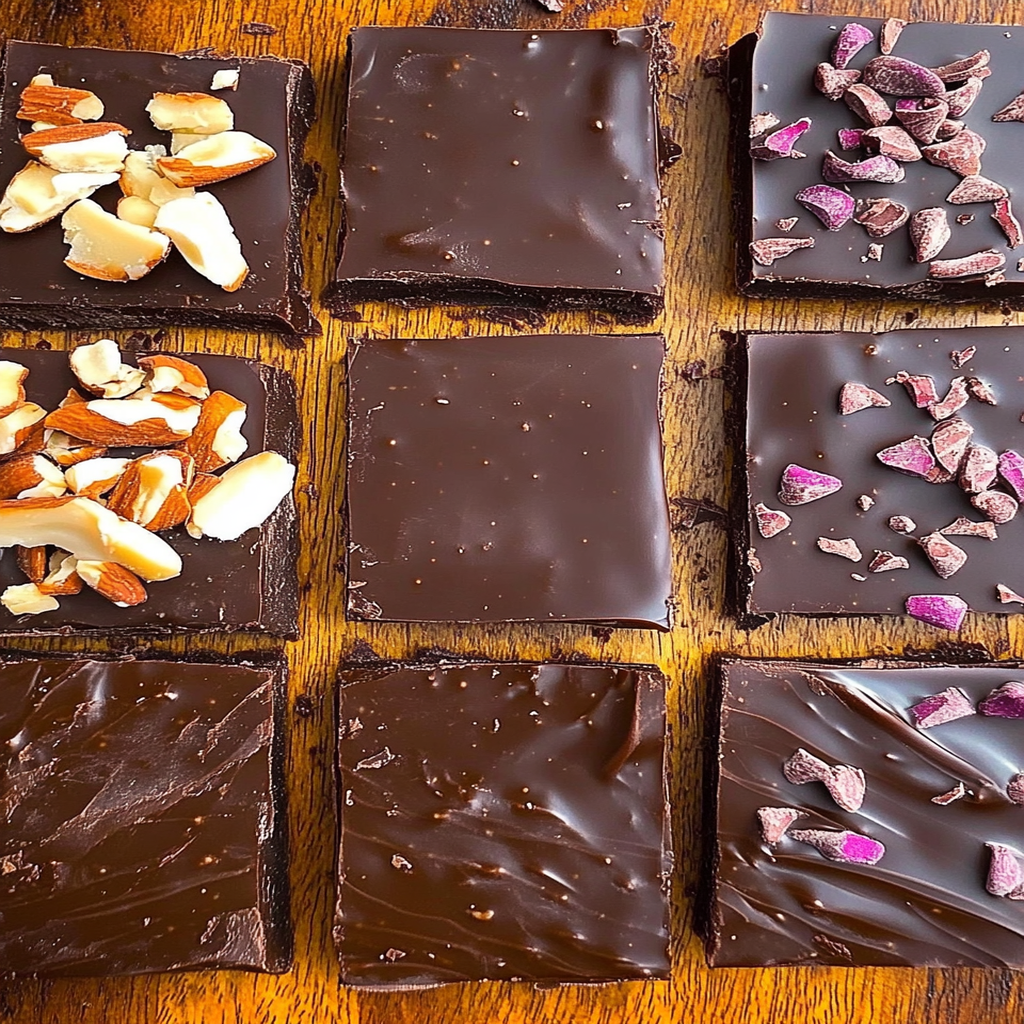
If you’re feeling adventurous, sprinkle nuts or dried fruits on top while the chocolate is still warm. Push them down slightly so they stick when it hardens.
Step 5: Chill Out
Pop those molds in the refrigerator for about 30 minutes. Use this time wisely—maybe dance around your kitchen like no one’s watching!
Step 6: Unmold and Enjoy
After chilling, carefully remove your homemade chocolate bars from their molds. Break out that sea salt and sprinkle lightly on top for an extra flavor punch.
Transfer to plates or share with friends—if you can bear to part with them!
You Must Know
- Homemade chocolate bars are not just a sweet treat; they bring joy to every occasion.
- Whether you’re crafting them for a special celebration or indulging on a lazy Sunday, these bars can be customized with your favorite ingredients.
- The process is fun and rewarding, and the results are delicious.
Perfecting the Cooking Process
To create your homemade chocolate bars efficiently, start by melting the chocolate using a double boiler. Once melted, mix in your chosen ingredients, then pour into molds. Allow them to cool completely before removing for that perfect snap.
Add Your Touch
Feel free to customize your homemade chocolate bars! Swap dark chocolate for milk or white chocolate, add nuts, dried fruits, or even a sprinkle of sea salt for an extra flavor kick. The possibilities are endless!
Storing & Reheating
Store your homemade chocolate bars in an airtight container at room temperature away from direct sunlight. If you want to enjoy them later, refrigerate them but let them come to room temperature before indulging for optimal texture.
Chef's Helpful Tips
- For flawless homemade chocolate bars, consider using high-quality chocolate for the best taste.
- Remember to temper your chocolate if you want that glossy finish and satisfying snap.
- Avoid moisture while melting to prevent seizing up your chocolate.
Making these bars reminds me of my childhood when my friends and I would gather around the kitchen table, melting chocolate and debating which toppings were the best. It was pure fun!
FAQs
What ingredients are needed for Homemade Chocolate Bars?
To make delicious homemade chocolate bars, you will need a few essential ingredients. Start with high-quality cocoa butter and cocoa powder for that rich chocolate flavor. You should also have sweeteners like honey, maple syrup, or coconut sugar to add sweetness. no bake peanut butter pie A pinch of sea salt enhances the overall taste, while optional add-ins like nuts, dried fruits, or flavor extracts can elevate your bars further. Make sure to choose organic ingredients whenever possible for the best results.
How do I store Homemade Chocolate Bars?
Storing homemade chocolate bars properly ensures they remain fresh and delicious. Place your chocolate bars in an airtight container to prevent moisture and odors from affecting them. Keep them in a cool, dark place such as a pantry or cupboard. If you live in a warmer climate, consider refrigerating them to maintain their firmness. However, avoid freezing as it can alter the texture. Proper storage can extend their shelf life for several weeks.
Can I customize my Homemade Chocolate Bars?
Absolutely! One of the best aspects of making homemade chocolate bars is the ability to customize flavors and textures according to your preferences. You can experiment with various sweeteners, such as agave or stevia, based on dietary needs. Add-ins like almonds, dried cherries, or even spices like cinnamon can create unique combinations. Creating themed flavors for holidays or special occasions adds an extra touch of creativity and fun to your homemade chocolate bars.
How long do Homemade Chocolate Bars last?
Homemade chocolate bars typically last about two to three weeks when stored properly in an airtight container at room temperature. If you choose to refrigerate them, they may last slightly longer—up to four weeks—without losing their quality. Always check for signs of spoilage such as discoloration or off smells before consuming older batches. Enjoying them fresh will enhance your experience of these delightful treats!
Conclusion for Homemade Chocolate Bars
In summary, making homemade chocolate bars is a rewarding and enjoyable process that allows for customization and creativity. With simple ingredients such as cocoa butter and sweeteners, you can craft delicious treats tailored to your taste preferences. Proper storage is key to maintaining freshness and quality over time. Whether you’re indulging yourself or sharing with loved ones, these homemade delights are sure to bring joy! So roll up your sleeves and start creating your perfect batch of homemade chocolate bars today!
Homemade Chocolate Bars
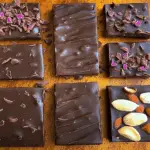
Homemade chocolate bars are a delightful treat that perfectly blend rich, velvety chocolate with a hint of sea salt, creating an irresistible dessert. This easy-to-follow recipe allows you to customize flavors and textures according to your preference, making it ideal for satisfying sweet cravings or gifting to friends. Imagine the joy of crafting these delicious bars in your kitchen while the aroma of melting chocolate fills the air. With just a few ingredients and simple steps, you’ll be indulging in pure bliss in no time.
- Prep Time: 10 minutes
- Cook Time: 30 minutes
- Total Time: 40 minutes
- Yield: Approximately 8 servings 1x
- Category: Dessert
- Method: Microwave
- Cuisine: American
Ingredients
- 1 cup dark chocolate chips (60-70% cocoa)
- 2 tbsp coconut oil
- 1/4 tsp sea salt (plus extra for topping)
- 1/2 cup nuts or dried fruits (optional)
Instructions
- Melt the dark chocolate chips and coconut oil in a microwave-safe bowl in 30-second increments until smooth.
- Prepare silicone molds or line a baking tray with parchment paper.
- Pour the melted chocolate into molds, tapping gently to release air bubbles.
- If desired, sprinkle nuts or dried fruits on top while still warm.
- Chill in the refrigerator for about 30 minutes until firm.
- Unmold and sprinkle with sea salt before serving.
Nutrition
- Serving Size: 1 bar (40g)
- Calories: 210
- Sugar: 14g
- Sodium: 25mg
- Fat: 15g
- Saturated Fat: 10g
- Unsaturated Fat: 4g
- Trans Fat: 0g
- Carbohydrates: 19g
- Fiber: 2g
- Protein: 2g
- Cholesterol: 0mg