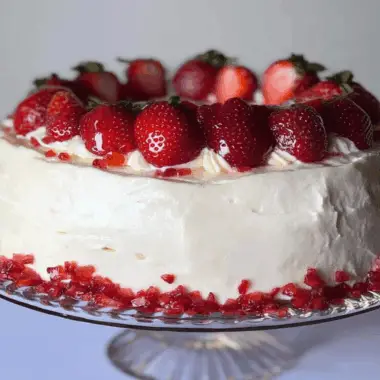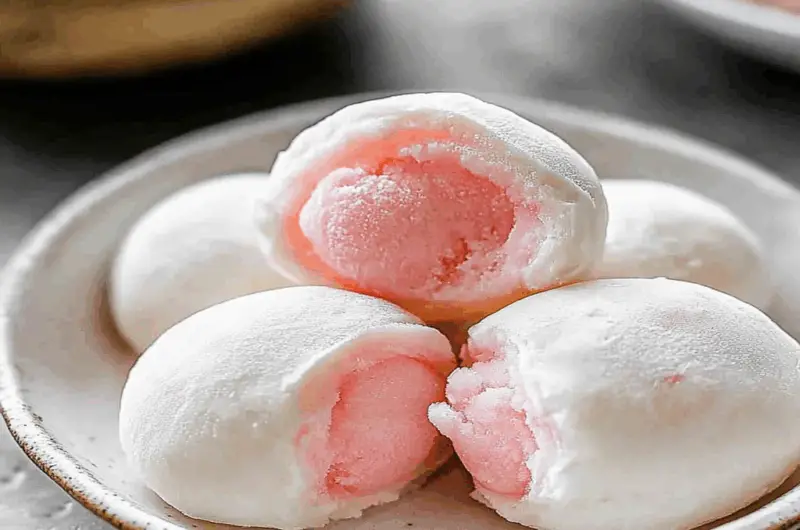
Mochi Ice Cream brings together the chewy, delightful texture of mochi with the creamy, cold satisfaction of ice cream. Imagine biting into a soft, pillowy layer that gives way to a burst of cool flavor, making your taste buds dance like they just won the lottery.
This treat is perfect for summer picnics, birthday parties, or simply when you need a little pick-me-up after a long day. The first time I tried it, I was convinced I’d reached dessert heaven—each bite was an unexpected joy that kept me coming back for more.
Why You'll Love This Recipe
- Making Mochi Ice Cream is easier than you think; it’s fun and allows for endless flavor combinations.
- Each bite delivers a unique blend of textures that’s hard to resist.
- You can create stunning presentations that will impress your guests at any gathering.
- It’s versatile enough to suit any occasion, from casual get-togethers to fancy dinner parties.
Ingredients for Mochi Ice Cream
Here’s what you’ll need to make this delicious dish:
- Mochiko (Sweet Rice Flour): This is essential for creating the chewy outer layer. Make sure to use sweet rice flour specifically for the best results.
- Granulated Sugar: A bit of sweetness goes a long way in this recipe. Adjust according to your preference if you’re feeling adventurous.
- Water: Just plain water will do! This helps create the mochi dough and keeps everything moist.
- Your Favorite Ice Cream: Choose any flavor you adore; classic vanilla or exotic matcha are both delightful options!
- Cornstarch: Dusting your work surface with cornstarch prevents sticking while shaping the mochi.
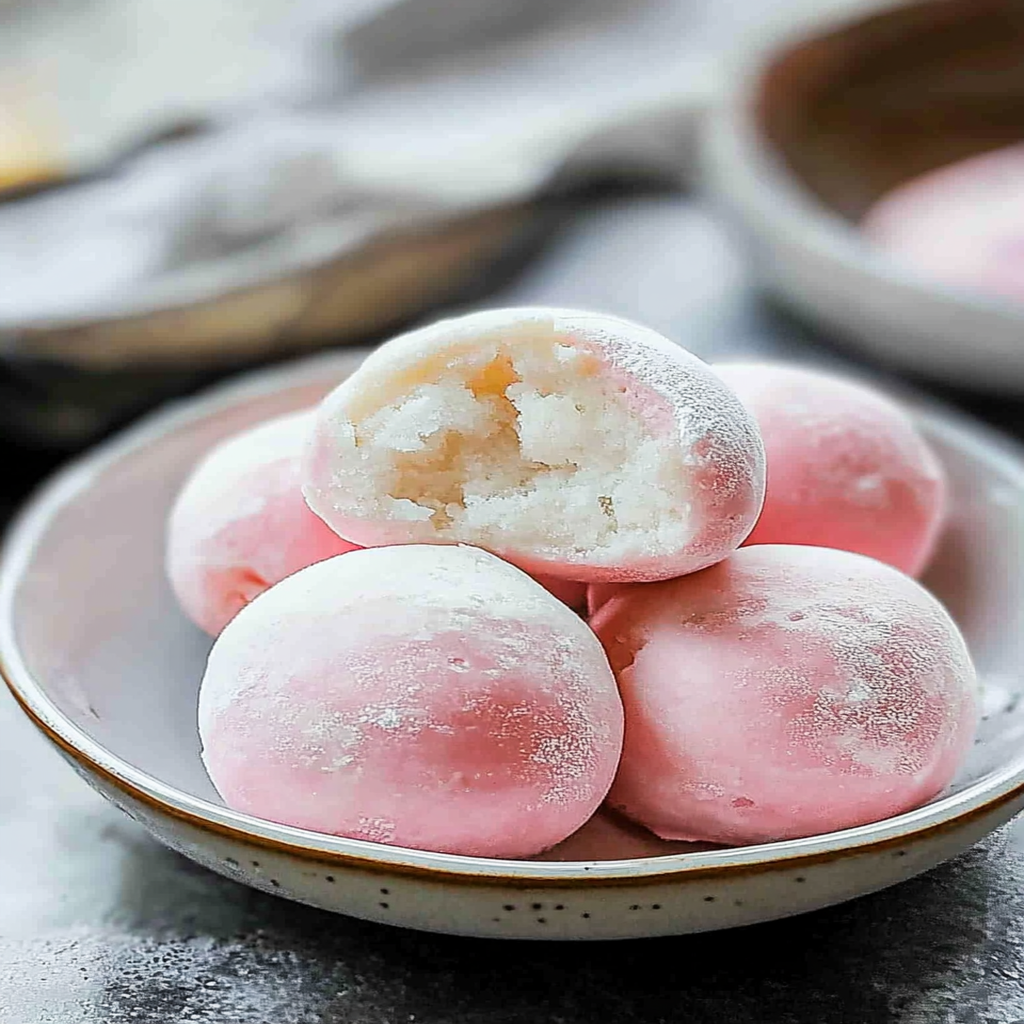
How to Make Mochi Ice Cream
Follow these simple steps to prepare this delicious dish:
Step 1: Prepare Your Workspace
First things first! Clear off some counter space and sprinkle cornstarch on it generously. This is where all the magic will happen.
Step 2: Mix the Mochi Dough
In a microwave-safe bowl, combine Mochiko and granulated sugar. Gradually stir in water until you form a smooth batter without lumps.
Step 3: Microwave the Mixture
Cover the bowl with plastic wrap and microwave on high for about one minute. Stir well, cover again, and microwave for another minute. Repeat once more until the dough becomes sticky and translucent.
Step 4: Shape the Mochi
Dust your hands with cornstarch and transfer the hot mochi dough onto your prepared surface. Let it cool slightly before rolling it out to about half an inch thick.
Step 5: Cut and Fill
Using a round cookie cutter or glass, cut out circles from the dough. Place a small scoop of ice cream in the center of each circle and fold over the edges gently to seal them up like little pillows of delight.
Step 6: Freeze Your Creations
Place your filled mochi balls on a baking sheet lined with parchment paper and freeze them for at least two hours—this step is crucial if you want that perfect texture!
Transfer to plates and serve immediately after freezing for a delightful treat that will impress anyone lucky enough to snag one
You Must Know
- Making mochi ice cream is not just about combining two delicious treats; it’s an art!
- The chewy mochi pairs perfectly with creamy ice cream, creating a delightful explosion of flavors.
- Plus, it’s perfect for impressing guests or satisfying your late-night cravings.
Perfecting the Cooking Process
Begin by preparing the mochi dough while your favorite ice cream softens slightly at room temperature. Shape the mochi around the ice cream balls and freeze again. This sequence ensures that everything sets perfectly without turning into a gooey mess.
Add Your Touch
Feel free to customize your mochi ice cream by experimenting with different ice cream flavors, such as green tea or red bean. You can also alter the sweetness of the mochi dough or sprinkle some cornstarch for added texture.
Storing & Reheating
Store leftover mochi ice cream in an airtight container in the freezer for up to a month. To enjoy, simply let it sit at room temperature for a few minutes before indulging in its delightful chewiness.
Chef's Helpful Tips
- Use glutinous rice flour, not regular flour, to achieve that signature chewy texture.
- Keep your hands and work surface lightly dusted with cornstarch to prevent sticking.
- If you want extra flavor, consider infusing the water with matcha or vanilla extract before mixing.
My first attempt at making mochi ice cream turned into a hilarious disaster when I forgot to freeze the ice cream first! Let’s just say it was more of a “mochi soup” than a snack. But hey, we laughed it off!
FAQs :
What is Mochi Ice Cream?
Mochi ice cream is a delightful Japanese dessert that combines traditional mochi with ice cream. The mochi is a sweet rice cake made from glutinous rice, which is pounded into a smooth and stretchy dough. This dough envelops a scoop of ice cream, creating a unique texture and flavor experience. choco tacos for dessert Mochi ice cream comes in various flavors, from classic vanilla to exotic green tea, making it a popular treat worldwide. Its chewy outer layer contrasts beautifully with the cold, creamy center, offering a delicious bite that many enjoy.
How do you make Mochi Ice Cream at home?
To make mochi ice cream at home, you’ll need glutinous rice flour, sugar, water, and your favorite ice cream. Start by mixing the flour and sugar with water to form a dough. Cook the mixture until it thickens, then let it cool slightly. Dust your work surface with cornstarch to prevent sticking. Roll out small pieces of dough and wrap them around scoops of softened ice cream. Freeze them until firm. Homemade mochi ice cream allows you to experiment with flavors and customize the size according to your preference.
Is Mochi Ice Cream gluten-free?
While traditional mochi is made with glutinous rice flour, which is naturally gluten-free, not all mochi ice creams are guaranteed to be gluten-free. Some brands may add ingredients containing gluten or process their products in facilities that handle gluten. If you have dietary restrictions or allergies, it’s essential to read the labels carefully or opt for homemade versions using certified gluten-free ingredients to ensure your safety while enjoying this delicious treat.
How long can you store Mochi Ice Cream?
Mochi ice cream can typically be stored in the freezer for up to three months without losing its quality. It’s best kept in an airtight container to prevent freezer burn and maintain its texture. When stored properly, mochi ice cream retains its chewy outer layer and creamy interior for an enjoyable experience upon serving. However, it’s advisable to consume it within a month for optimal taste and freshness.
Conclusion for Mochi Ice Cream :
Mochi ice cream offers a delightful fusion of textures and flavors that appeals to many dessert lovers. This Japanese treat combines the chewiness of mochi with creamy ice cream for an unforgettable experience. Making it at home allows you to customize flavors while ensuring quality ingredients are used. Remember to check labels if you’re buying commercially made options for dietary considerations like gluten sensitivity. Enjoying mochi ice cream is not just about taste; it’s also about savoring a unique cultural delicacy that’s easy to love!
Mochi Ice Cream
Mochi Ice Cream is a delightful and refreshing dessert that combines the chewy texture of mochi with the creamy richness of ice cream. Perfect for summer gatherings or a sweet treat any time, this homemade version allows you to experiment with various flavors, impressing friends and family with every bite. Easy to make and endlessly customizable, Mochi Ice Cream transforms ordinary moments into something truly special!
- Prep Time: 30 minutes
- Cook Time: 3 minutes
- Total Time: 33 minutes
- Yield: Approximately 8 servings 1x
- Category: Dessert
- Method: Microwaving
- Cuisine: Japanese
Ingredients
- 1 cup Mochiko (sweet rice flour)
- 1/4 cup granulated sugar
- 3/4 cup water
- 1 pint of your favorite ice cream (softened)
- Cornstarch for dusting
Instructions
- Dust a clean surface with cornstarch.
- In a microwave-safe bowl, mix Mochiko and sugar. Gradually add water until smooth.
- Cover with plastic wrap and microwave on high for 1 minute. Stir, cover again, and microwave for another minute. Repeat until the dough is sticky and translucent.
- Dust hands with cornstarch, transfer the dough to the prepared surface, and roll out to about 1/2 inch thick.
- Cut circles using a cookie cutter or glass. Place a small scoop of softened ice cream in the center of each circle and fold over to seal.
- Freeze for at least 2 hours on a parchment-lined baking sheet before serving.
Nutrition
- Serving Size: 1 serving
- Calories: 130
- Sugar: 10g
- Sodium: 5mg
- Fat: 3g
- Saturated Fat: 2g
- Unsaturated Fat: 1g
- Trans Fat: 0g
- Carbohydrates: 24g
- Fiber: 0g
- Protein: 2g
- Cholesterol: 10mg