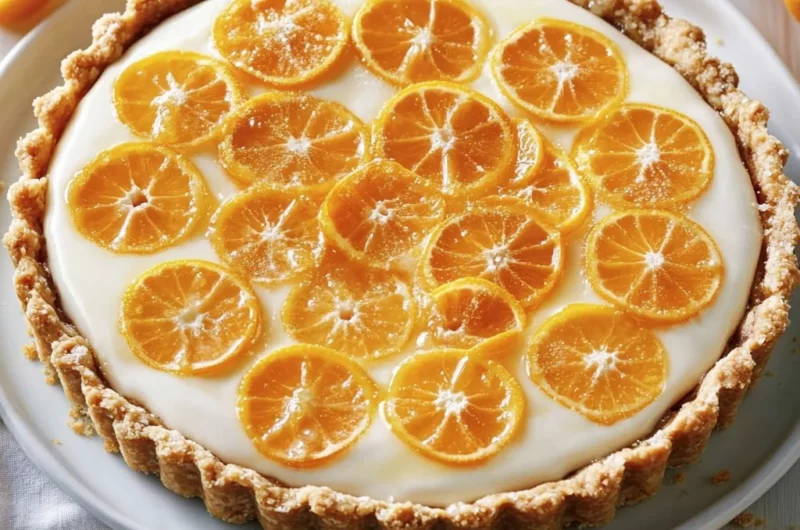
Imagine biting into a Mimosa Tart that combines the zesty brightness of fresh citrus with a buttery, flaky crust, instantly transporting you to a sunlit brunch with friends. The sweet aroma of orange and champagne wafts through the air, making your taste buds tingle with anticipation for that refreshing burst of flavor.
This delightful dessert isn’t just a treat; it’s a celebration on a plate, perfect for special gatherings or lazy weekend mornings. I can still remember the first time I made this tart for my family, and their delighted reactions turned an ordinary day into an unforgettable occasion filled with laughter and joy. Get ready to indulge in this vibrant creation that promises to elevate any meal into a festive experience!
Why Is Mimosa Tart So Irresistibly Good?
Refreshing and Unique: This tart captures the vibrant essence of a classic mimosa, making it a standout addition to any brunch spread.
Quick and Easy: With just 15 minutes of prep time, you can whip up this delightful dessert without spending hours in the kitchen.
Bright Flavors: The combination of freshly squeezed orange juice and champagne creates a zesty filling that dances on your palate.
Crowd-Pleaser: Its elegant presentation and delicious taste ensure it’s a hit with family and friends at any gathering.
Versatile Delight: Enjoy it as a light dessert or a sweet brunch treat—either way, it’s sure to impress!
Mimosa Tart Ingredients
For the Crust
- 1 cup all-purpose flour – This forms the base of your tart, providing structure and a light texture.
- 1/2 cup unsalted butter (cold and cubed) – Keep it cold for a flakier crust that melts in your mouth.
- 1/4 cup powdered sugar – Adds sweetness and a delicate crumb to the crust.
- 1 large egg yolk – Helps bind the crust together and gives it a rich flavor.
For the Filling
- 1 cup orange juice (freshly squeezed) – Use freshly squeezed juice for vibrant flavor that pops in every bite.
- 1/4 cup champagne – This bubbly addition enhances the tart with a touch of elegance reminiscent of a classic mimosa.
- 1/2 cup sugar – Balances the tartness of the orange juice, creating a delightful sweet finish.
- 3 large eggs – These provide richness and help set the filling perfectly as it bakes.
- 1 tablespoon orange zest – Zest adds an aromatic burst of citrus that elevates the overall taste of your Mimosa Tart.
How to Make Mimosa Tart
1. Combine ingredients: In a mixing bowl, combine 1 cup all-purpose flour, 1/2 cup cold and cubed unsalted butter, and 1/4 cup powdered sugar until crumbly. Add 1 large egg yolk and mix until a dough forms, resembling soft crumbs.
2. Chill the dough: Press the dough into your tart pan evenly, ensuring every corner is filled. Refrigerate for 30 minutes to firm up the crust for that perfect texture.
3. Preheat and bake: Preheat your oven to 350°F (175°C). Bake the crust for about 20 minutes or until it turns golden brown, filling your kitchen with a delightful aroma.
For the Filling:
4. Whisk together: In a bowl, whisk together 1 cup freshly squeezed orange juice, 1/4 cup champagne, 1/2 cup sugar, 3 large eggs, and 1 tablespoon orange zest until well combined. This mixture should be smooth and vibrant.
5. Fill the crust: Pour the luscious filling into the baked crust gently, being careful not to spill over the sides.
6. Bake again: Return to the oven and bake for an additional 15 minutes. The filling will puff slightly and set beautifully; you’ll know it’s done when it’s just slightly jiggly in the center.
7. Cool before serving: Let your Mimosa Tart cool completely before serving, allowing all those flavors to meld together perfectly.
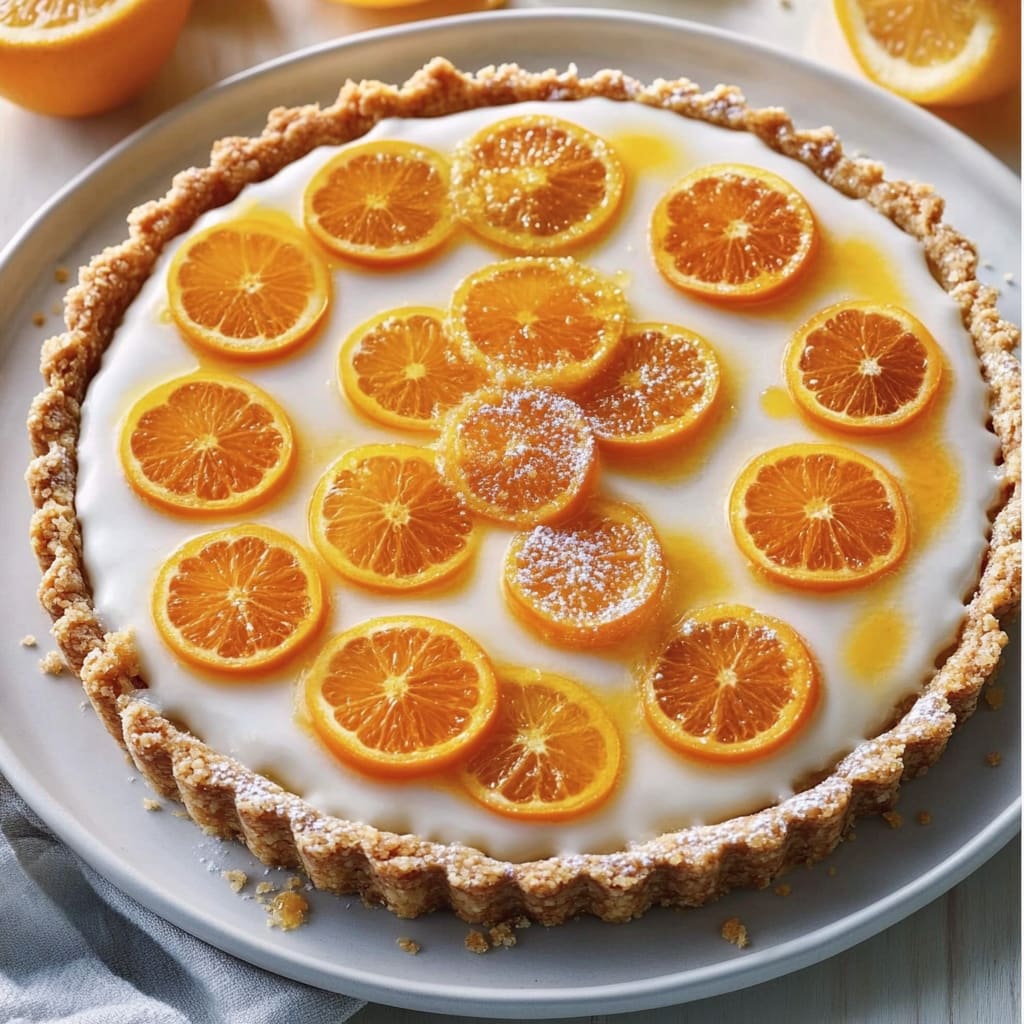
Optional: Garnish with fresh orange slices for an extra burst of color and taste!
Exact quantities are listed in the recipe card below.
Expert Tips
- Chill the Dough: Refrigerating the crust for 30 minutes helps prevent shrinkage during baking, ensuring a perfectly shaped Mimosa Tart.
- Fresh Juice Matters: Use freshly squeezed orange juice for the brightest flavor. Bottled juices can taste overly processed and dull.
- Check Egg Freshness: Ensure your eggs are fresh for the filling; old eggs can affect the texture and taste of your Mimosa Tart.
- Avoid Overmixing: When combining the filling ingredients, mix just until combined to prevent a rubbery texture in the final tart.
- Cool Completely: Allow the tart to cool fully before serving; this helps set the filling and makes slicing easier.
How to Store and Freeze Mimosa Tart
- Fridge: Store your Mimosa Tart covered with plastic wrap or in an airtight container for up to 3 days to keep it fresh and zesty.
- Freezer: If you need to store it longer, freeze the tart (whole or sliced) in a tightly wrapped layer of plastic wrap, then aluminum foil, for up to 2 months.
- Thawing: To enjoy later, thaw in the fridge overnight before serving. Avoid microwave reheating, as it may alter the texture.
- Serving: Serve chilled for a refreshing treat, enhancing that classic mimosa flavor with every bite!
Mimosa Tart Your Way
Feel free to get creative and add your personal touch to this delightful treat!
- Gluten-Free: Substitute all-purpose flour with a 1:1 gluten-free flour blend for a tasty alternative. You won’t miss the traditional flour, and the tart will still hold its delightful texture.
- Vegan: Use coconut oil instead of butter and flax eggs for an egg-free version. Simply mix 1 tablespoon of ground flaxseed with 2.5 tablespoons of water for each egg. The result is a rich and satisfying tart that everyone will love.
- Citrus Twist: Replace orange juice with grapefruit or lemon juice for a unique zesty flavor. This adds a refreshing twist that’s sure to surprise your taste buds at brunch.
- Sparkling Substitute: For a non-alcoholic version, swap champagne with sparkling apple cider. It gives the tart a bubbly kick without the alcohol, making it perfect for family gatherings.
- Herb Infusion: Add fresh rosemary or thyme to the crust for an aromatic touch. Just chop finely and mix in; it elevates the tart’s flavor profile beautifully.
- Nutty Texture: Incorporate ground almonds into the crust for added crunch and richness. This subtle change enhances both flavor and texture, creating a more decadent experience.
- Sweetener Swap: Use honey or maple syrup in place of sugar for natural sweetness. This not only brings depth to the flavor but also makes it feel a bit more wholesome.
- Colorful Fruit Topping: Top the finished tart with mixed berries or sliced peaches for added sweetness and vibrant color. This makes each slice visually stunning and even more irresistible!
Make Ahead Options
Preparing a Mimosa Tart ahead of time is a fantastic way to streamline your brunch or dessert plans. You can make the crust up to 24 hours in advance; simply combine 1 cup of all-purpose flour, 1/2 cup of cold, cubed unsalted butter, and 1/4 cup of powdered sugar until crumbly, then mix in 1 large egg yolk. Press this dough into your tart pan and refrigerate it for at least 30 minutes before baking. For the filling, you can whisk together the ingredients—1 cup of freshly squeezed orange juice, 1/4 cup of champagne, 1/2 cup of sugar, 3 large eggs, and 1 tablespoon of orange zest—up to 3 days in advance. Just be sure to store it in an airtight container in the refrigerator. When you’re ready to serve your Mimosa Tart, bake the filling in the pre-baked crust for another 15 minutes and let it cool before slicing. This preparation not only saves you time but also allows those vibrant flavors to meld beautifully!
Mimosa Tart Recipe FAQs
What type of flour is best for the crust?
All-purpose flour is perfect for this tart crust as it provides the right balance of structure and tenderness. If you’re looking for a gluten-free option, you can substitute with a 1: 1 gluten-free baking blend, but keep in mind the texture may vary slightly.
Can I use salted butter instead of unsalted butter?
While unsalted butter is recommended for better control over the tart’s flavor, you can use salted butter if that’s what you have on hand. Just reduce the added sugar slightly to balance the saltiness.
How should I store leftover Mimosa Tart?
You can store any leftover Mimosa Tart in an airtight container in the refrigerator for up to 3 days. Just be sure to let it cool completely before covering it to avoid condensation that could make the crust soggy.
Can I freeze the Mimosa Tart?
Yes, you can freeze the tart! Wrap it tightly in plastic wrap and then aluminum foil to prevent freezer burn. It can be frozen for up to 2 months. Thaw it overnight in the refrigerator before serving, and enjoy its refreshing flavors!
What if my filling doesn’t set properly?
If your filling doesn’t set after baking for 15 minutes, it might need a few extra minutes in the oven. Watch closely and check for a slight jiggle in the center; it will firm up as it cools. Make sure your oven temperature is accurate by using an oven thermometer.
How many servings does this recipe yield?
This delightful Mimosa Tart serves 4 people generously. Each slice is about 250 calories, making it a lovely addition to brunch or dessert without overwhelming your guests!
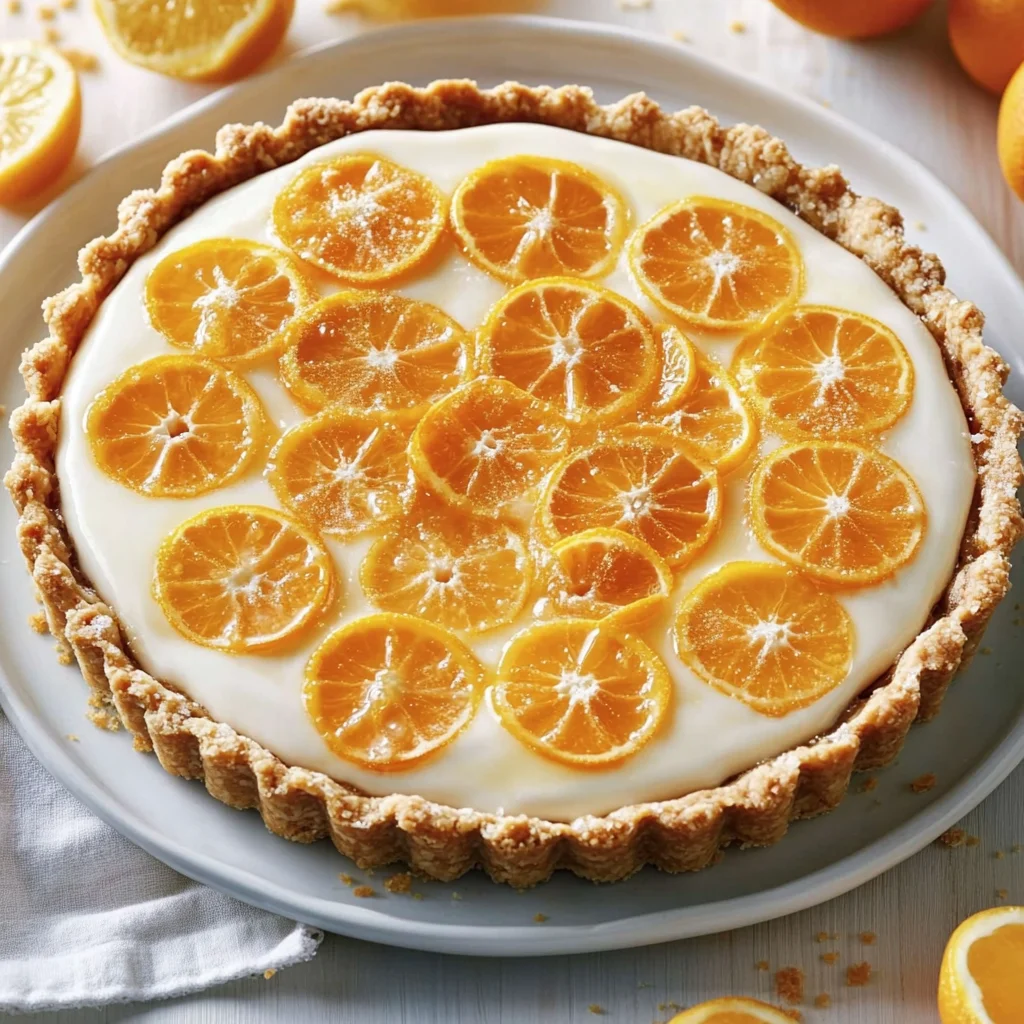
Mimosa Tart
Ingredients
Method
- In a mixing bowl, combine flour, butter, and powdered sugar until crumbly. Add egg yolk and mix until a dough forms.
- Press the dough into the tart pan and refrigerate for 30 minutes.
- Preheat the oven to 350°F (175°C). Bake the crust for 20 minutes or until golden.
- In a bowl, whisk together orange juice, champagne, sugar, eggs, and orange zest until well combined.
- Pour the filling into the baked crust and bake for an additional 15 minutes.
- Let cool before serving.