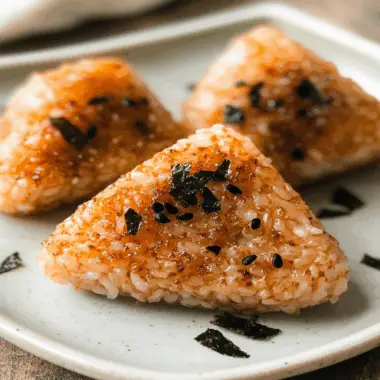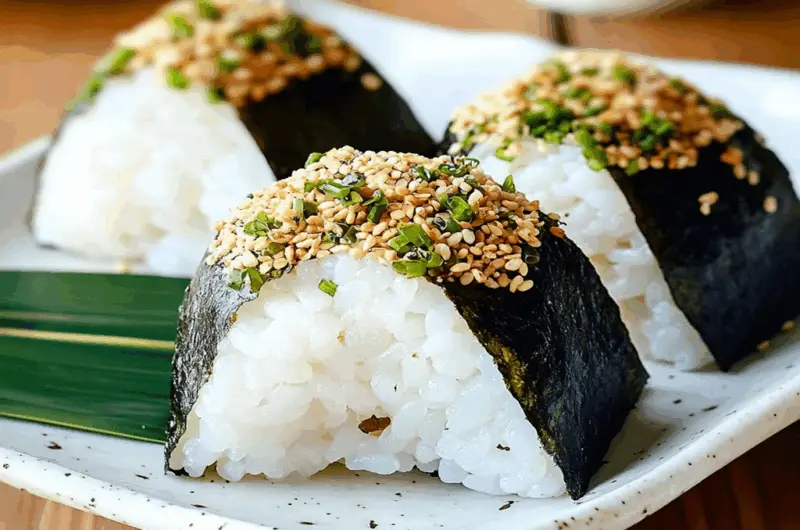
There’s something magical about the first bite of onigiri, those delightful rice balls with fillings. Imagine sinking your teeth into a perfectly shaped ball of sticky rice, bursting with flavors that dance on your tongue—savory, sweet, and oh-so satisfying. The aroma wafts through the air, teasing your senses and beckoning you to take another bite.
Onigiri holds a special place in my heart, reminding me of lazy Sunday picnics in the park with friends. Each rice ball was a surprise, filled with treasures like tuna mayo or pickled plum. These little delights aren’t just food; they’re an experience waiting to happen at any gathering or even a solo movie night.
Why You'll Love This Recipe
- Onigiri is incredibly easy to prepare; even novice cooks can impress their friends.
- The flavor profile is wonderfully varied, with countless filling options to suit every palate.
- Their visual appeal makes them a charming addition to any meal or snack spread.
- Plus, they are versatile enough to be enjoyed at breakfast, lunch, or dinner!
Ingredients for Onigiri (Rice Balls with Fillings)
Here’s what you’ll need to make this delicious dish: delicious dessert pairing.
- Short-Grain Rice: Use Japanese short-grain rice for its sticky texture, which helps hold the onigiri together.
- Water: Fresh water is essential for cooking the rice; ensure it’s clean and free from impurities.
- Salt: A pinch of salt enhances the flavor of the rice and balances the fillings.
- Fillings (Tuna Mayo, Umeboshi, etc.): Choose your favorite fillings! Tuna mayo is classic while umeboshi offers a tangy twist.
- Nori (Seaweed Sheets): Optional but adds a delightful crunch; cut into strips for wrapping around onigiri. crispy vegan option.
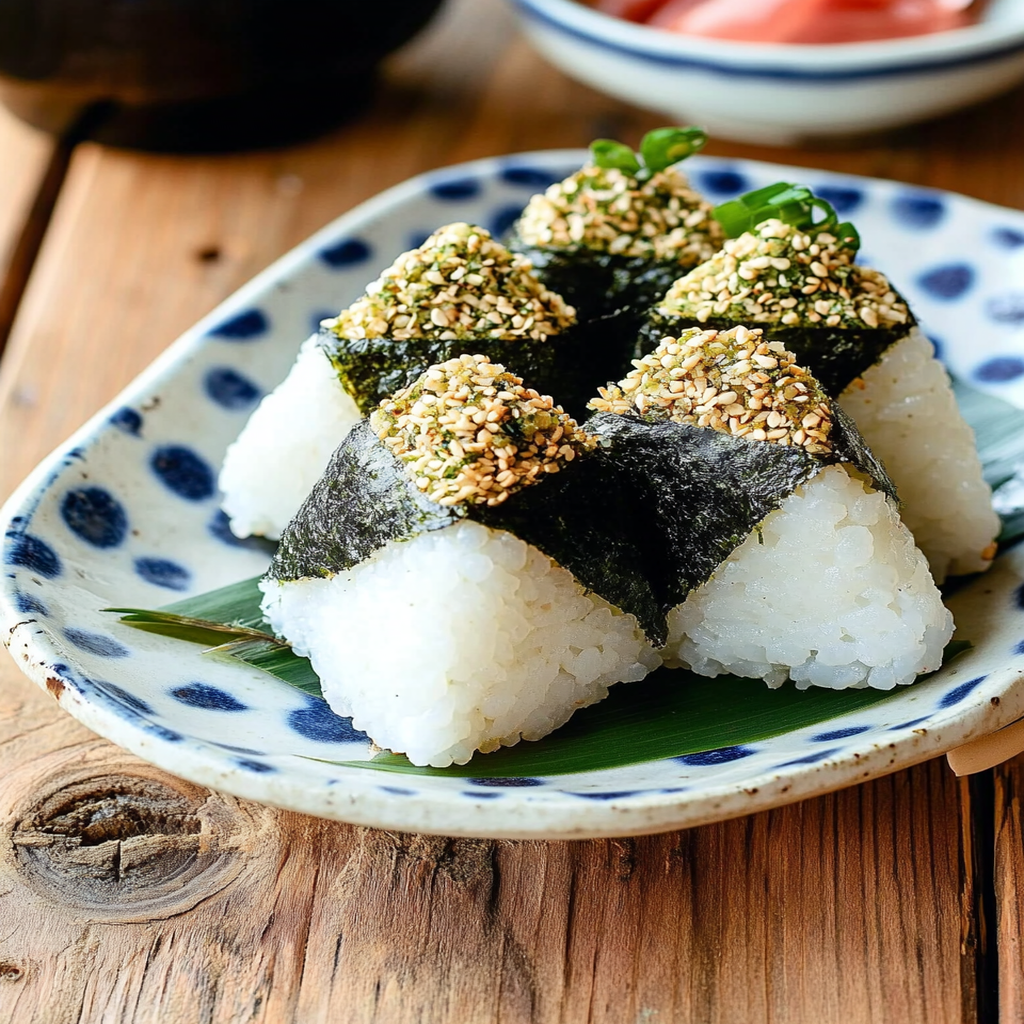
How to Make Onigiri (Rice Balls with Fillings)
Follow these simple steps to prepare this delicious dish:
Step 1: Rinse and Cook the Rice
Start by rinsing about two cups of short-grain rice under cold water until it runs clear. This removes excess starch and prevents it from becoming gummy. After rinsing, add the rice to a rice cooker with approximately two and a half cups of water. Cook according to your rice cooker’s instructions.
Step 2: Season the Rice
Once cooked, transfer the rice to a large bowl while it’s still warm. Sprinkle in about half a teaspoon of salt and gently fold it in using a spatula. Be careful not to mash the grains as you mix.
Step 3: Prepare Your Fillings
While waiting for your rice to cool slightly, prepare your chosen fillings like tuna mayo or umeboshi paste. If you’re feeling adventurous, mix up some diced veggies or avocado for a fresher twist!
Step 4: Forming Your Onigiri
Wet your hands lightly with water to prevent sticking. Scoop about a handful of seasoned rice into one palm and create an indentation in the center. Add one tablespoon of your desired filling before covering it with more rice. Gently shape it into a triangle or ball by pressing firmly but not too hard!
Step 5: Wrap It Up
If you’re using nori sheets, cut them into strips or squares that will cover part of your onigiri for added flavor and texture. Wrap them around each piece securely.
Step 6: Serve and Enjoy!
Arrange your beautiful onigiri on a plate and serve them immediately or store them in an airtight container in the fridge if you’re prepping ahead! They make for fantastic snacks or light meals.
Transfer to plates and drizzle with sauce for the perfect finishing touch! Enjoy every flavorful bite as you indulge in this delightful Japanese treat! creamy side dish.
You Must Know
- Onigiri, those delightful rice balls with fillings, are not just delicious; they’re a canvas for your creativity.
- You can easily customize the fillings based on your taste and what’s in your pantry.
- Their charming shapes and vibrant flavors make any meal feel like a celebration.
- Perfect for picnics or lunchboxes!
Perfecting the Cooking Process
To make perfect onigiri, start by cooking the rice until it’s fluffy and sticky. While the rice cools, prepare your chosen fillings. Once everything is ready, mold the rice around the filling into delightful little triangles or balls.
Add Your Touch
Feel free to swap out traditional fillings for something unique. Try spicy tuna, pickled vegetables, or even leftover teriyaki chicken. You can also experiment with different seasonings like furikake to give it an extra kick of flavor!
Storing & Reheating
Store onigiri in an airtight container in the fridge for up to three days. To reheat, wrap them in a damp paper towel and microwave for about 30 seconds. This keeps them moist and delicious!
Chef's Helpful Tips
- Always rinse the rice thoroughly before cooking to remove excess starch—this helps achieve that perfect sticky texture.
- Don’t be afraid to get creative with your fillings; leftovers work wonders!
- When shaping, wet your hands to prevent sticking.
The first time I made onigiri, my friends were so impressed they declared me a culinary genius! Little did they know, it was all thanks to this simple yet magical recipe that turned plain rice into edible art.
FAQs :
What are Onigiri (Rice Balls with Fillings)?
Onigiri, also known as rice balls, are a traditional Japanese food made from white rice. These delightful snacks can be shaped into triangles or rounds and often contain various fillings such as pickled plum, grilled salmon, or even vegetables. Wrapped in nori seaweed, onigiri is not only delicious but also convenient for on-the-go eating. They are popular in bento boxes and can be customized to suit individual tastes.
How do you make Onigiri (Rice Balls with Fillings)?
To make onigiri, start by cooking short-grain rice until fluffy. Once the rice has cooled slightly, wet your hands to prevent sticking and take a small portion of rice. Form it into a ball or triangle shape and create an indentation in the center. Add your desired filling, then mold the rice around it to seal. Finally, wrap with a strip of nori for added flavor and presentation.
Can Onigiri (Rice Balls with Fillings) be stored?
Yes, onigiri can be stored for a short time. It’s best to keep them in an airtight container in the refrigerator if you plan to consume them later. However, they are best enjoyed fresh as the texture of the rice may change when refrigerated. For longer storage, consider freezing them without the nori and thawing before consumption, adding fresh nori just before serving.
What fillings are popular for Onigiri (Rice Balls with Fillings)?
Popular fillings for onigiri include umeboshi (pickled plum), teriyaki chicken, tuna mayo, and grilled vegetables. You can get creative by using your favorite ingredients like avocado or seasoned tofu as well. The versatility of onigiri allows you to mix and match fillings according to personal preference or dietary needs.
Conclusion for Onigiri (Rice Balls with Fillings) :
Onigiri is a versatile and delicious Japanese dish that offers endless possibilities with various fillings. Making these rice balls is simple and enjoyable, whether you’re preparing them for lunch or a quick snack. Remember to use short-grain rice for the best texture and experiment with different flavors to find your favorite combination. Enjoying onigiri is not just about taste; it’s also about the art of crafting something uniquely yours!
Onigiri (Rice Balls with Fillings)
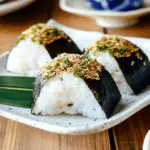
Onigiri, the delightful Japanese rice balls, are a culinary adventure waiting to be explored. These bite-sized treasures are made from sticky short-grain rice and can be filled with a variety of delicious ingredients, from savory tuna mayo to tangy umeboshi. Perfect for picnics, lunchboxes, or a cozy night in, onigiri is not just food; it’s an experience. Easy to make and highly customizable, these rice balls are sure to impress family and friends at any gathering.
- Prep Time: 15 minutes
- Cook Time: 30 minutes
- Total Time: 45 minutes
- Yield: Approximately 6 servings 1x
- Category: Snack
- Method: Cooking
- Cuisine: Japanese
Ingredients
- 2 cups short-grain rice
- 2.5 cups water
- 0.5 tsp salt
- Fillings (1 tbsp per rice ball): tuna mayo, umeboshi, or your choice
- Nori sheets (optional)
Instructions
- Rinse the short-grain rice under cold water until clear. Combine with water in a rice cooker and cook according to instructions.
- Once cooked, transfer the rice to a bowl and mix in salt while still warm.
- Prepare your desired fillings while the rice cools slightly.
- Wet your hands, scoop a handful of rice, create an indentation, add filling, and mold into a triangle or ball shape.
- Optionally wrap with nori strips for added flavor and texture.
- Serve immediately or store in an airtight container in the fridge.
Nutrition
- Serving Size: 1 onigiri (100g)
- Calories: 180
- Sugar: 0g
- Sodium: 210mg
- Fat: 1g
- Saturated Fat: 0g
- Unsaturated Fat: 0g
- Trans Fat: 0g
- Carbohydrates: 39g
- Fiber: 1g
- Protein: 4g
- Cholesterol: 0mg